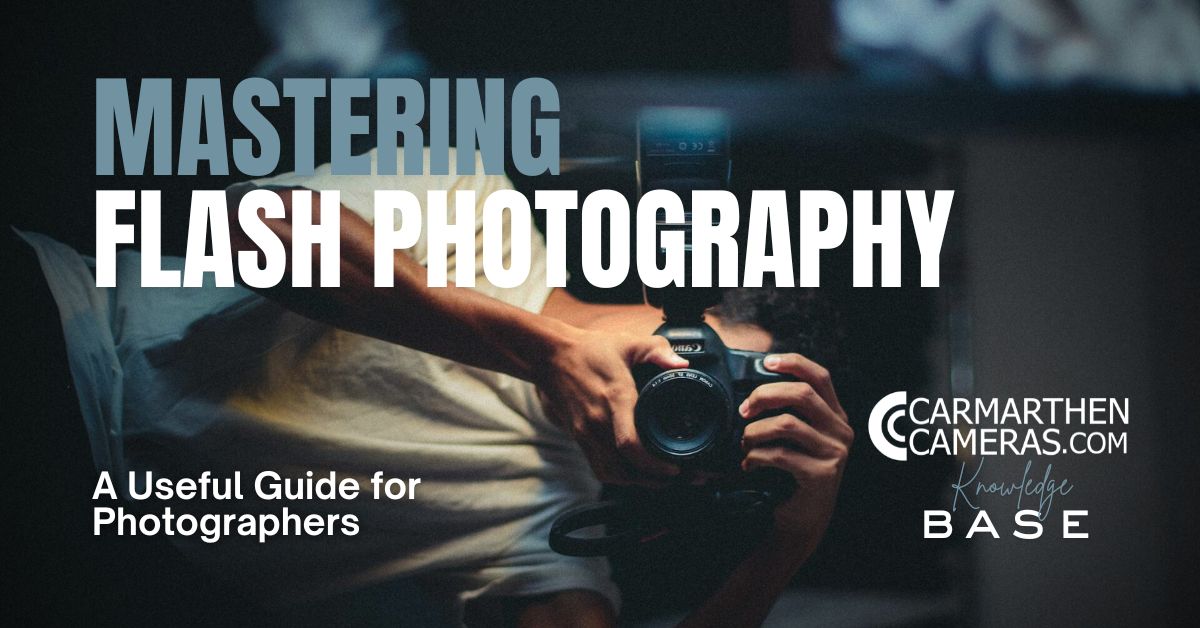
Flash photography can elevate your images from ordinary to extraordinary, but mastering it requires understanding light, equipment, and technique. Whether you're a beginner or looking to refine your skills, this guide will help you harness the power of flash to create stunning images.

Understanding Flash Photography
Flash photography involves using an artificial light source to illuminate a scene, subject, or object. While natural light is often preferred, flash allows for greater control over lighting conditions, especially in low-light environments.
There are two main types of flash:
- On-camera flash – The built-in or attached flash unit on your camera.
- Off-camera flash – External flashes that can be positioned away from the camera for more creative control.
Each has its uses, but off-camera flash opens up endless possibilities for professional-quality lighting.

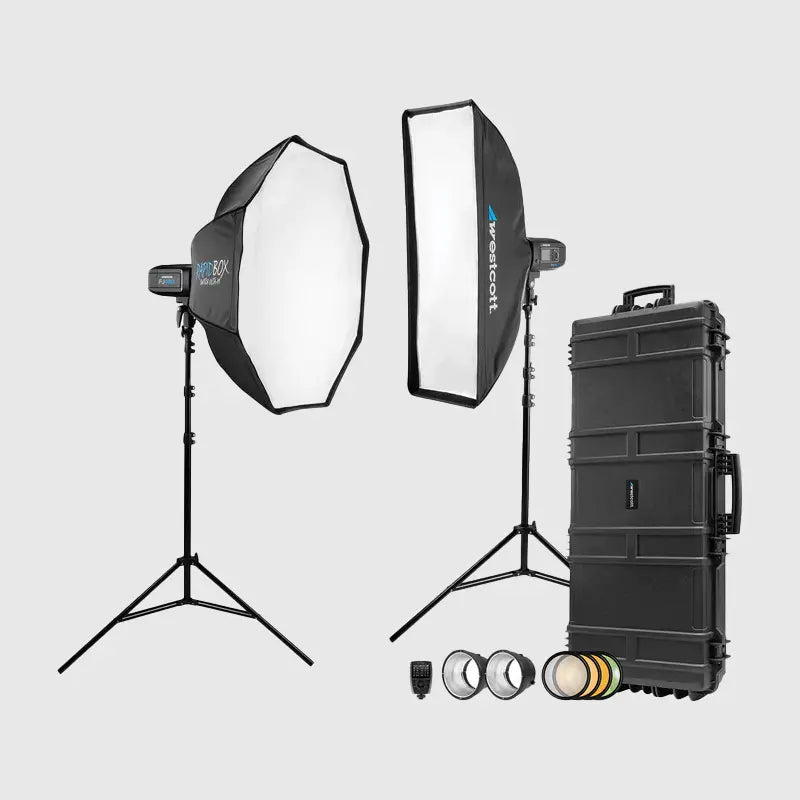
Essential Flash Equipment
To take your flash photography to the next level, consider investing in the following:
- Speedlights – Compact, portable flash units that attach to the camera hot shoe or work off-camera.
- Studio Strobes – More powerful lights used in controlled settings like portrait studios.
- Triggers and Sync Cords – Wireless transmitters or cables that allow off-camera flashes to fire in sync with the camera.
- Light Modifiers – Accessories like softboxes, umbrellas, and diffusers help soften the light and control its direction.
Each piece of gear helps shape and enhance your lighting setup, allowing you to achieve more natural-looking and dramatic effects.

Mastering Flash Settings
Getting the right exposure with flash involves balancing three key settings:
- Flash Power – The intensity of the flash output, adjustable in manual flash settings.
- Shutter Speed – Controls ambient light exposure. A slower shutter lets in more background light, while a faster shutter darkens it.
- Aperture and ISO – Aperture controls depth of field and flash brightness, while ISO determines overall image brightness.
A general rule is to use a slower shutter speed (1/200s or slower) to allow ambient light in and adjust flash power accordingly.

Techniques for Better Flash Photography
1. Bounce Flash for Softer Light
Instead of aiming the flash directly at your subject, bounce it off a ceiling or wall to diffuse the light. This eliminates harsh shadows and creates a more natural look.
2. Use Diffusers for Even Lighting
Attaching a diffuser to your flash softens the light, reducing harsh highlights and deep shadows. Softboxes, bounce cards, or even a simple white sheet can serve as excellent diffusers.
3. Balance Flash with Ambient Light
Flash shouldn't overpower natural light—it should complement it. Use a combination of lower flash power and a wider aperture to blend flash with available light seamlessly.
4. Experiment with Off-Camera Flash
Using an off-camera flash opens up creative lighting possibilities. Place the flash at different angles to create depth, shadows, and dramatic effects.
5. Control Flash Colour Temperature
Flashes typically produce cool, white light. Using colour gels helps match flash output to ambient lighting, creating a more natural balance in mixed lighting environments.
6. Use High-Speed Sync for Daylight Photography
High-speed sync (HSS) lets you use faster shutter speeds (above 1/200s) with flash, making it possible to shoot outdoors in bright conditions without overexposing the image.
7. Try Multiple Flash Setups
For professional results, experiment with multiple light sources:
- Key Light: The primary light source.
- Fill Light: A secondary light that reduces shadows.
- Rim Light: A light placed behind the subject to create separation from the background.

Common Flash Photography Mistakes (And How to Fix Them)
🔹 Overexposed or Blown-Out Highlights
💡 Solution: Lower flash power or increase aperture to reduce brightness.
🔹 Flat and Unflattering Lighting
💡 Solution: Use bounce flash, diffusers, or position the flash at an angle rather than direct on-camera flash.
🔹 Harsh Shadows
💡 Solution: Use softboxes, reflectors, or multiple light sources to fill in the shadows.
🔹 Red-Eye Effect
💡 Solution: Use an off-camera flash or enable red-eye reduction mode in-camera.
🔹 Uneven Light Distribution
💡 Solution: Adjust flash direction, bounce the light, or use diffusers to spread light evenly.

Conclusion
Mastering flash photography takes time, practice, and experimentation. By understanding light control, using the right equipment, and refining your technique, you can create well-lit, professional-quality images in any setting.
So grab your flash, start experimenting, and take your photography to the next level! 🚀