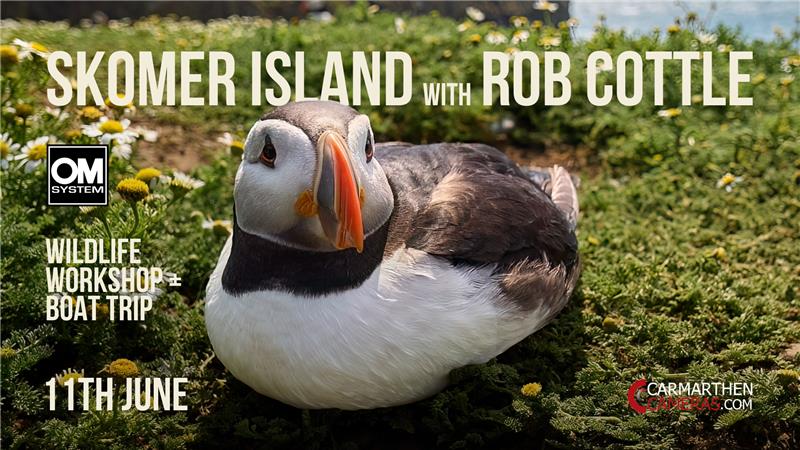
Wildlife photography is all about patience, timing, and understanding the behaviour of your subjects. With the right settings and techniques, you can capture incredible images of animals in their natural habitat. Here's a comprehensive guide to help you get started with wildlife photography.

1. Camera Settings for Wildlife Photography
Wildlife photography often involves fast-moving animals, unpredictable lighting, and the need for quick reactions. Here’s how to set up your camera for success:
a. Shutter Speed
- Fast Shutter Speed: To freeze action, use a fast shutter speed. For birds in flight or animals on the move, 1/1000th of a second or faster is ideal. If the animal is moving very quickly, increase the speed to 1/2000th or higher.
- Slower Shutter Speed: For still or resting animals, you can lower the shutter speed slightly, but keep it fast enough to avoid motion blur caused by camera shake.
b. Aperture
- Wide Aperture (Low f-stop): Use a wide aperture (e.g., f/2.8 to f/5.6) to let in more light and achieve a blurred background, isolating your subject. This helps make the animal stand out from its environment.
- Narrower Aperture: If you want more of the scene in focus, especially when photographing large animals up close, use a narrower aperture like f/8.
c. ISO
- Higher ISO: Wildlife photography often requires higher ISO settings to maintain fast shutter speeds in low light. Start with ISO 400-800 and increase as needed, depending on the lighting conditions. Modern cameras handle high ISO well, but be mindful of noise.

2. Focus Mode and Points
- Continuous Autofocus (AI Servo / AF-C): Use continuous autofocus to track moving animals. This mode adjusts focus automatically as your subject moves, ensuring it stays sharp.
- Focus Points: Use a single focus point or a small group of focus points to focus precisely on the animal’s eyes. Tracking focus modes can be useful for birds in flight or animals moving unpredictably.

3. Drive Mode
- High-Speed Burst Mode: Use continuous shooting mode to capture multiple frames per second. This is especially helpful when photographing fast action, like a bird taking off or a predator chasing prey. It increases your chances of capturing the perfect moment.

4. Lens Choice
- Telephoto Lenses: A telephoto or super-telephoto lens (e.g., 70-200mm, 100-400mm, or 500mm) is essential for wildlife photography. These lenses allow you to get close to your subject without disturbing them and help fill the frame with the animal.
- Wide Aperture Lenses: Lenses with wide apertures (f/2.8 or f/4) are beneficial in low-light situations and for creating a shallow depth of field.

5. Stabilisation and Tripods
- Image Stabilisation: Use lenses with built-in image stabilisation to reduce camera shake, especially when shooting handheld with a heavy telephoto lens.
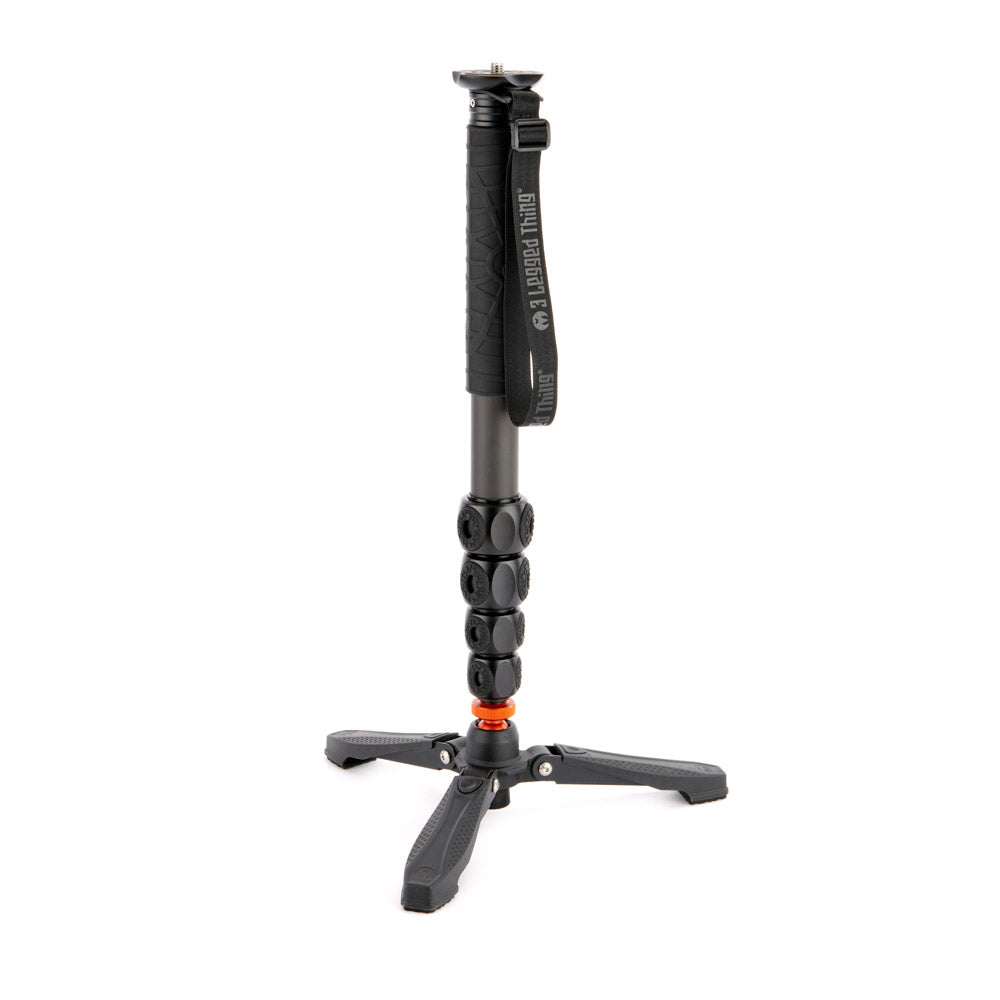
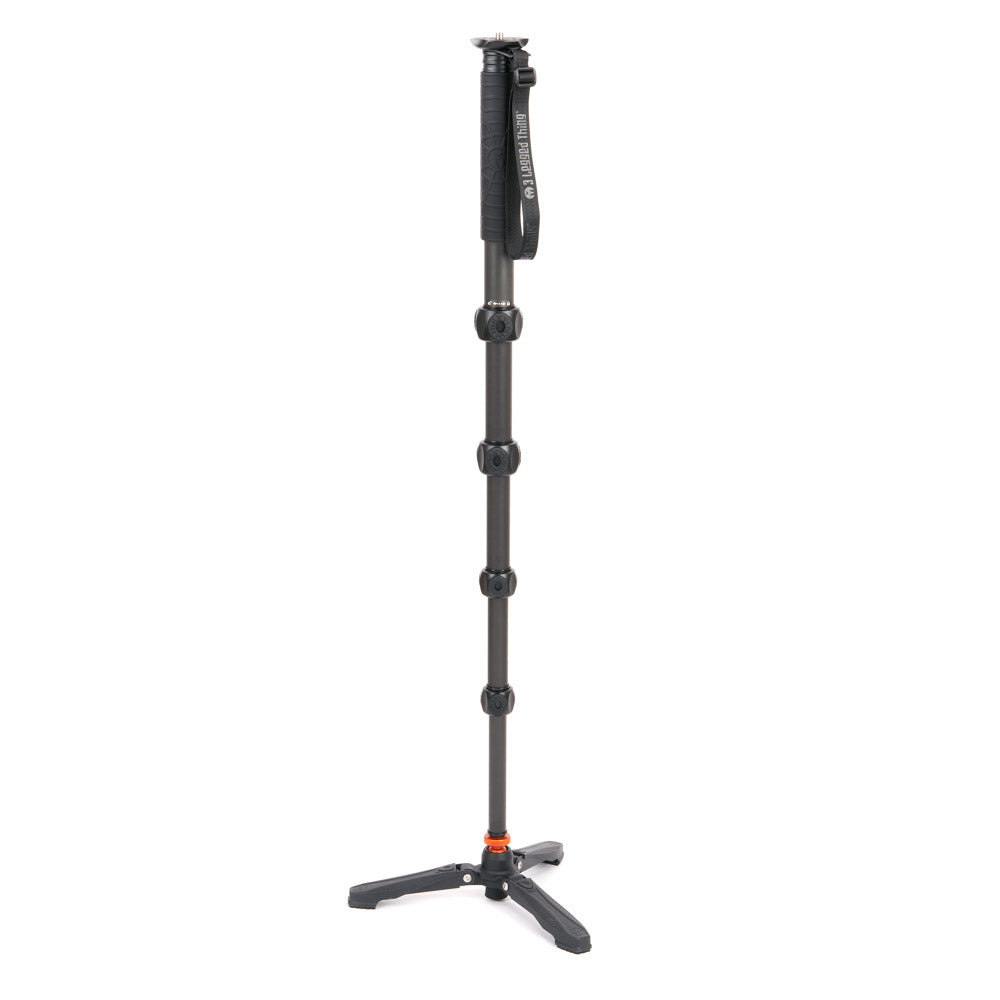
- Monopod or Tripod: Use a monopod or tripod for stability, particularly if you’re waiting for long periods or shooting in low light. A gimbal head on a tripod is useful for tracking animals in motion.

6. Composition Tips for Wildlife Photography
- Focus on the Eyes: The eyes are the most expressive part of an animal. Make sure the eyes are sharp and in focus to create a strong connection with the viewer.
- Rule of Thirds: Place your subject off-centre using the rule of thirds to create a more dynamic composition.
- Include the Environment: Sometimes, showing the animal in its natural habitat adds context and tells a better story. Experiment with wider shots to capture the scenery and setting.

7. Light and Timing
- Golden Hour: The best time for wildlife photography is during the golden hour—just after sunrise or before sunset. The light is soft and warm, and animals are often more active.
- Overcast Days: Cloudy skies provide even lighting, reducing harsh shadows and making it easier to photograph subjects in the open.

8. Patience and Behaviour
- Study Animal Behaviour: Understanding the habits and movements of your subject will help you anticipate action and be ready to capture it.
- Stay Quiet and Hidden: Use natural cover or a hide to avoid disturbing the animals. Dress in muted colours and move slowly to blend into the environment.

9. Safety and Ethics
- Respect Wildlife: Always prioritise the well-being of animals and their habitats. Never get too close or disturb animals, especially when they are feeding or caring for young.
- Keep a Safe Distance: Use long lenses to maintain a safe and respectful distance from your subjects, especially with large or potentially dangerous animals.
Quick Summary of Settings for Wildlife Photography:
- Shutter Speed: 1/1000th of a second or faster for action shots
- Aperture: f/2.8 to f/5.6 for a blurred background, or f/8 for more depth
- ISO: Start at ISO 400-800 and adjust as needed
- Focus Mode: Continuous (AI Servo / AF-C) with single or small group focus points
- Drive Mode: High-speed burst for action shots
- Lens: Telephoto or super-telephoto lens for close-ups from a distance

Additional Tips:
- Practice Makes Perfect: Wildlife photography is all about patience and practice. Spend time observing and photographing different animals to improve your skills.
- Be Prepared: Always have your camera ready with the appropriate settings. Wildlife can be unpredictable, and you don’t want to miss a great shot.
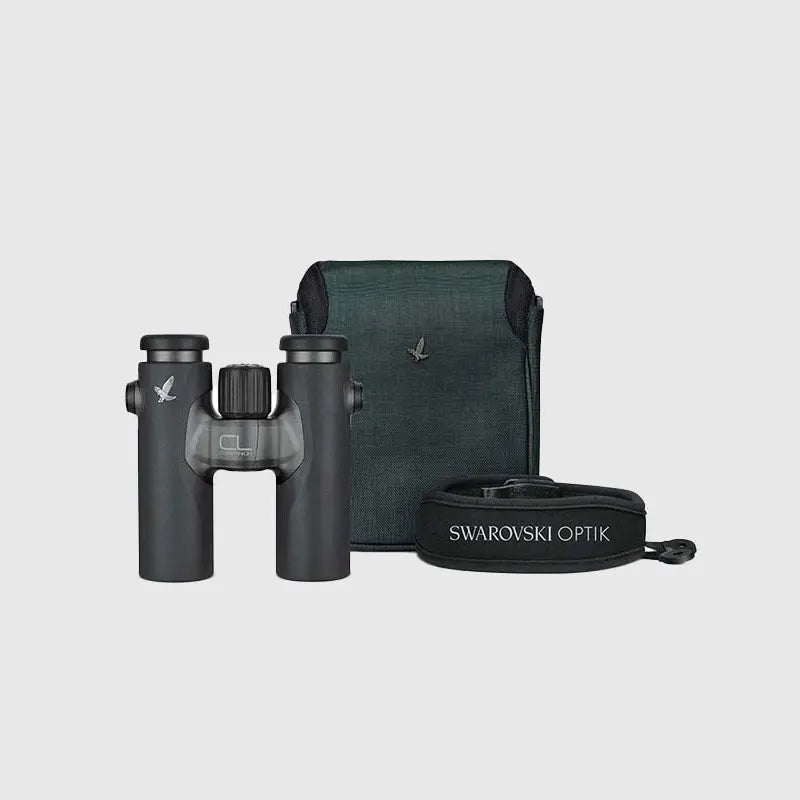
- Keep Your Distance: Use binoculars to scout for animals before getting your camera ready. This will help you be more prepared for capturing the action.
With these settings and techniques, you’ll be well-equipped to photograph the beauty and excitement of the animal world. Happy shooting, and enjoy the thrill of wildlife photography!

