Landscape photography allows you to capture the beauty of the natural world, from sweeping vistas to intimate forest scenes. To create striking images, it’s important to have the right settings, composition, and understanding of light. Here’s a comprehensive guide to help you get the most out of your landscape photography adventures.
1. Camera Settings for Landscape Photography
Getting the right exposure and depth of field is key to successful landscape shots. Here are the settings to consider:

a. Aperture
- Narrow Aperture (High f-stop): Use a narrow aperture, such as f/8 to f/16, to achieve a large depth of field. This ensures that both the foreground and background elements are in focus, creating a sharp image from front to back.
- Tip: Avoid using very high f-stops (e.g., f/22) unless necessary, as they may cause diffraction and reduce overall sharpness.
b. Shutter Speed
- Fast Shutter Speed: If you’re shooting handheld or in bright conditions, a shutter speed of 1/125th of a second or faster is recommended.
- Long Exposure: For capturing movement in water, clouds, or light trails, use a slower shutter speed, such as 1/2 second to several minutes. A tripod is essential for stability during long exposures.
c. ISO
- Low ISO: Use the lowest ISO setting (usually ISO 100 or 200) to minimise noise and ensure the highest image quality. Only increase ISO if needed in low-light situations or when shooting handheld.

2. Focus Techniques
- Manual Focus or Autofocus: Use autofocus for general landscape shots, but switch to manual focus when shooting in tricky lighting conditions or for more precise control.
- Focus Point: Use the “double the distance” rule. Focus one-third into the scene to maximise depth of field, especially when using a narrower aperture.
3. Filters for Landscape Photography
- Polarising Filter: A polariser reduces glare from water and enhances the colours in the sky and foliage. It can also help make clouds pop and add depth to your images.
- Neutral Density (ND) Filter: ND filters are useful for long-exposure shots, especially to smooth out water or blur clouds during the day.
- Graduated ND Filter: These filters help balance the exposure between a bright sky and a darker foreground.

4. Composition Tips
- Rule of Thirds: Use the rule of thirds to create a balanced composition. Place key elements like the horizon or a focal point along the grid lines.
- Leading Lines: Incorporate natural lines, like rivers, paths, or mountain ridges, to guide the viewer’s eye through the image.
- Foreground Interest: Adding a strong foreground element, like rocks, flowers, or trees, can add depth and make your composition more dynamic.
- Frame Within a Frame: Use natural elements like tree branches or archways to frame your scene and draw attention to the subject.
5. Time of Day and Lighting
- Golden Hour: The hour after sunrise and the hour before sunset are ideal for landscape photography. The soft, warm light adds dimension and creates beautiful colours in the sky.
- Blue Hour: The time just before sunrise or after sunset provides cool, soft lighting, perfect for creating moody or ethereal landscapes.
-
Midday: If shooting in harsh midday light, look for opportunities to use shadows creatively or find subjects in shaded areas to avoid harsh contrasts.

6. Using a Tripod
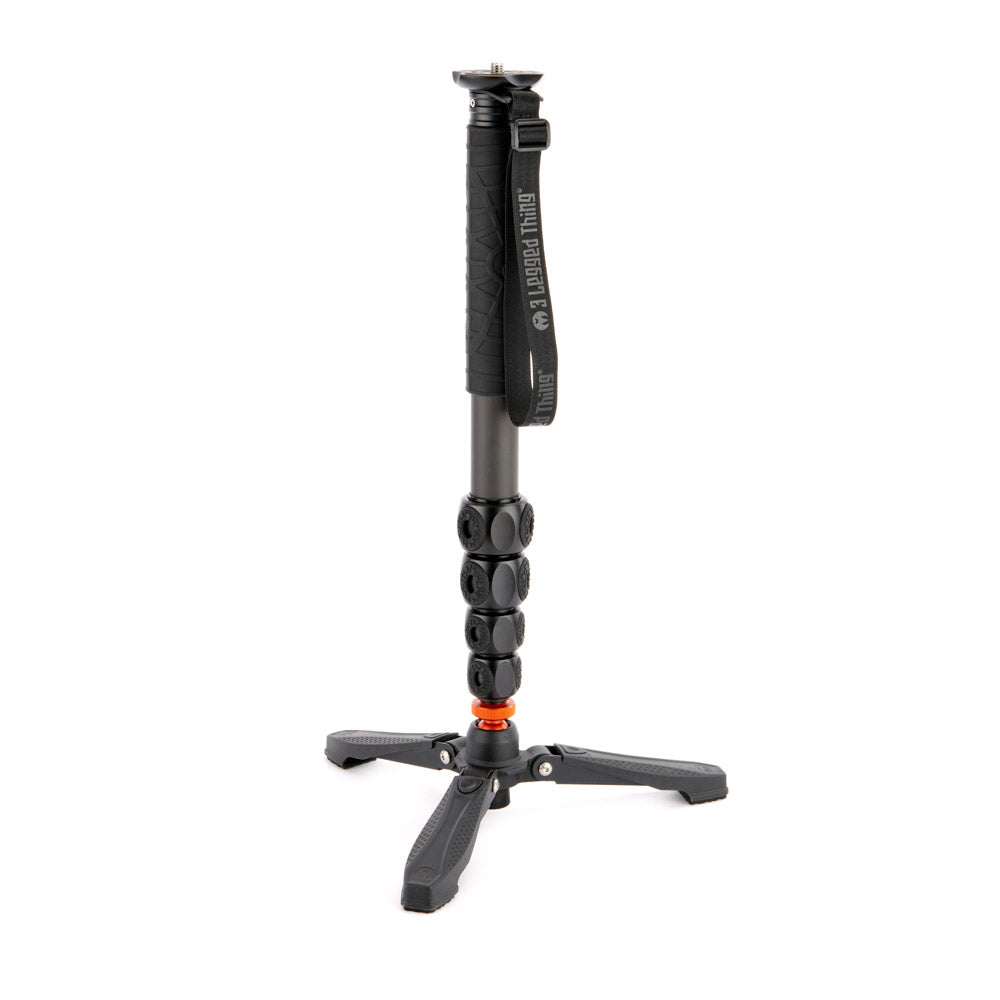
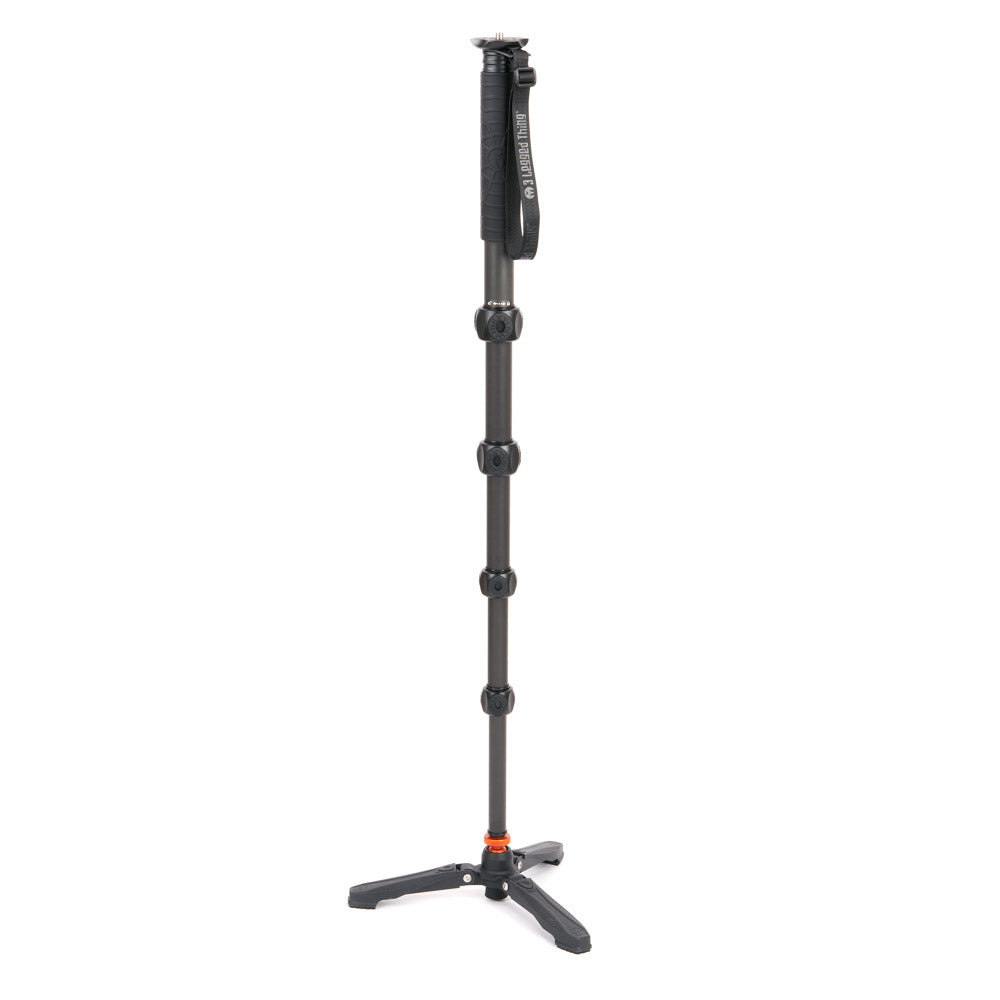
- Stability: A sturdy tripod is essential for long exposures and when using smaller apertures in low-light conditions. It also allows for more precise composition and reduces camera shake.
- Remote Shutter Release: To further reduce camera shake, use a remote shutter release or set a short timer delay on your camera.
7. Post-Processing Tips
- Enhance Colours: Use software like Adobe Lightroom to adjust the vibrance and saturation. Be subtle to keep your image looking natural.
- Adjust Contrast: Increase contrast to make the image pop, but avoid over-processing.
- Sharpening: Apply sharpening selectively, focusing on areas where you want to highlight details, like mountains or foreground textures.
Quick Summary of Settings for Landscape Photography:
- Aperture: f/8 to f/16 for a large depth of field
- Shutter Speed: 1/125th of a second or faster for handheld shots; slower for long exposures
- ISO: Low (ISO 100 or 200)
- Focus: One-third into the scene for maximum depth of field
- Filters: Polarising, ND, and graduated ND filters for better exposure control and colour enhancement
Additional Tips:
- Scout Locations: Visit potential shooting locations in advance to find the best vantage points and plan your composition.
- Weather Considerations: Overcast days are perfect for soft, even lighting, while storms and dramatic clouds add atmosphere to your images.
- Keep Your Lens Clean: Carry a lens cloth to remove dust, smudges, or water droplets, especially if shooting near waterfalls or in misty conditions.
By mastering these settings and techniques, you’ll be well on your way to capturing stunning landscape images that showcase the beauty of nature. Happy shooting!

