Astrophotography is a beautiful and rewarding genre of photography that captures the wonders of the night sky. Whether you’re photographing the Milky Way, constellations, star trails, or even the moon, having the right camera settings and techniques is crucial. Here’s a complete guide to help you capture breathtaking astrophotography images.
1. Camera Settings for Astrophotography
Astrophotography requires careful adjustments to settings to maximise light intake and minimise noise. Here’s how to set up your camera for different types of astro shots:

a. Milky Way and Constellations
- Shutter Speed: Use the “500 Rule” to determine your maximum shutter speed without causing star trails. Divide 500 by your lens focal length. For example, with a 24mm lens, use a shutter speed of about 20 seconds (500 ÷ 24 = ~20.8 seconds).
- Aperture: Use the widest aperture your lens allows (e.g., f/2.8 or wider) to let in as much light as possible.
- ISO: Start with an ISO of 1600 to 3200. Higher ISOs may introduce more noise, so experiment based on your camera’s low-light performance.
- White Balance: Set a custom white balance, such as 3500K-4000K, to achieve a natural colour balance in your night sky images.

b. Star Trails
- Shutter Speed: Use a long exposure of several minutes or take multiple exposures and stack them in post-processing to create continuous star trails.
- Aperture: Set a wide aperture (f/2.8 to f/4) to capture more light.
- ISO: Use a lower ISO, around 800-1600, to reduce noise over long exposure times.
- Intervalometer: An intervalometer is essential for taking multiple exposures for star trail stacking.

c. Moon Photography
- Shutter Speed: The moon is surprisingly bright. Use a faster shutter speed, such as 1/125th to 1/250th of a second, to avoid overexposure.
- Aperture: Use a mid-range aperture like f/8 to f/11 for better sharpness.
- ISO: Keep your ISO low, around 100-400, to reduce noise and maintain detail.

d. Deep Sky Objects (DSO)
- Shutter Speed: Use very long exposures, often several minutes, depending on your equipment and tracking capabilities.
- Aperture: As wide as possible to capture faint light from distant objects.
- ISO: Set a moderate ISO, typically between 800-1600, and adjust as needed for image quality.
- Tracking Mount: A tracking mount is essential for long exposures of deep-sky objects, as it compensates for the Earth's rotation and keeps your subject in view.

2. Lens Choice
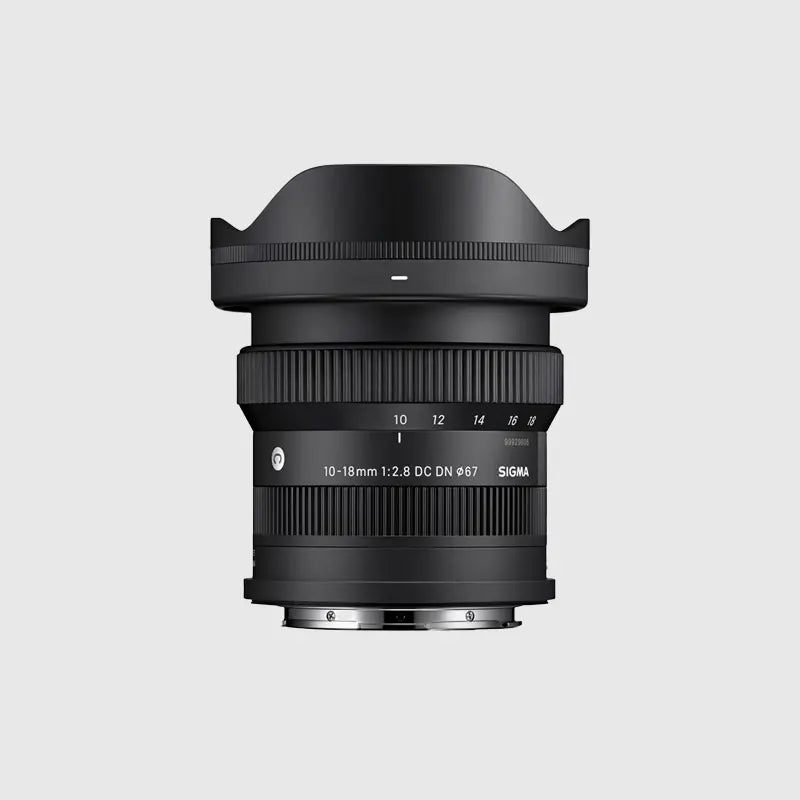
- Wide-Angle Lenses: Ideal for capturing the Milky Way, constellations, and star trails. Look for lenses with a wide aperture (e.g., 14mm f/2.8).
- Telephoto Lenses: For moon and planetary photography, a telephoto lens (200mm or longer) will help you get closer and capture more detail.
3. Equipment Essentials
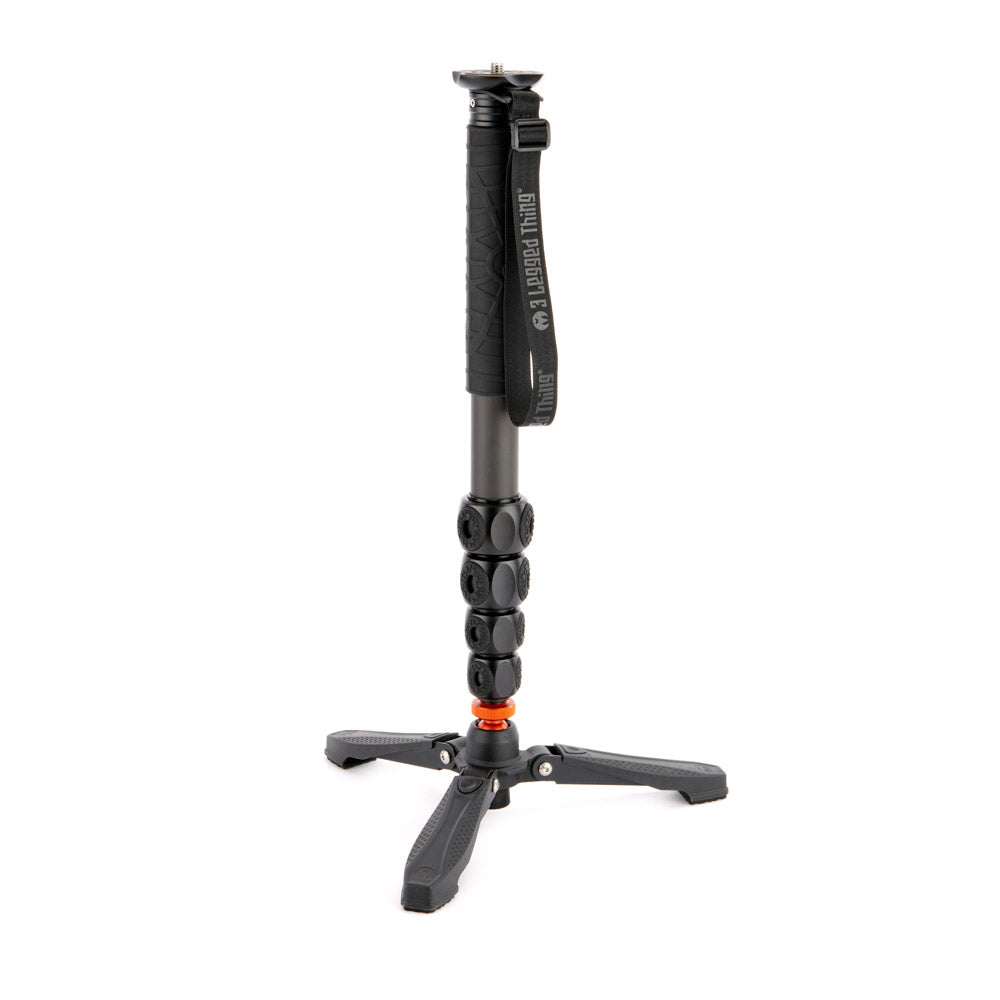
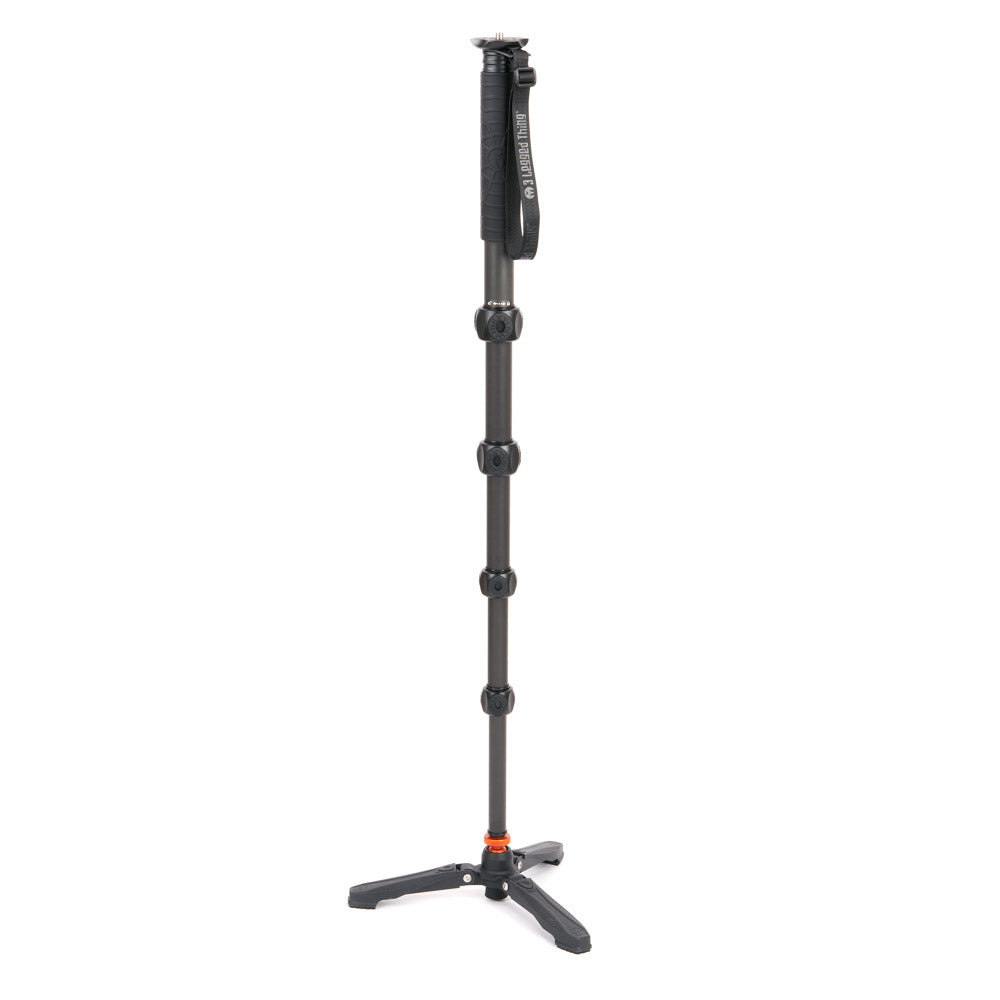
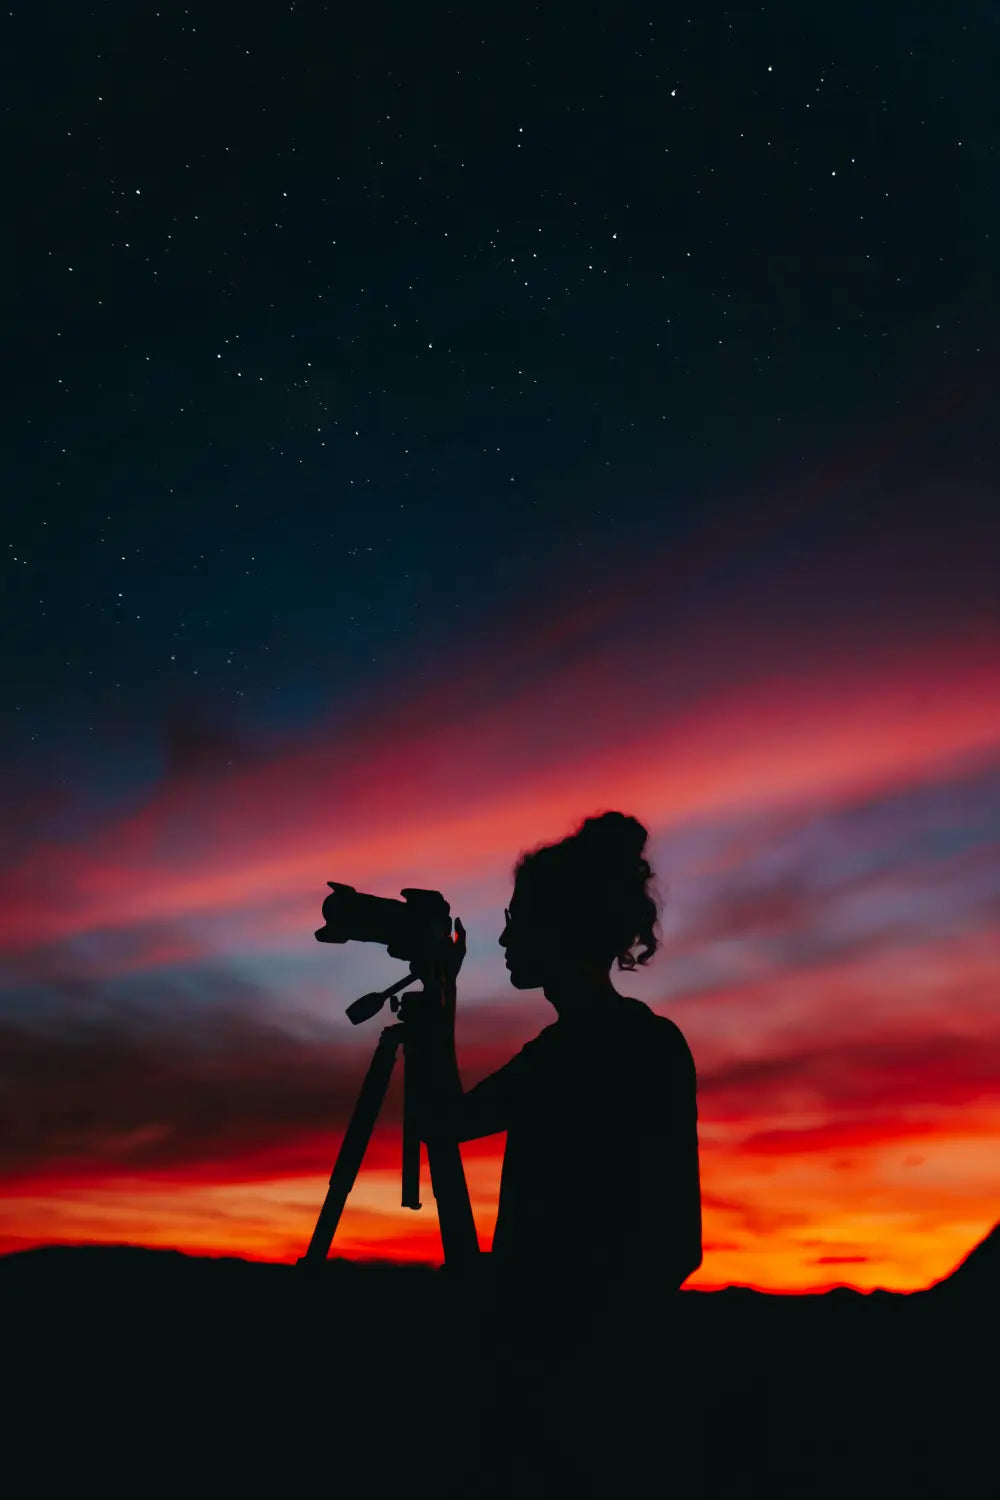
- Tripod: A sturdy tripod is a must-have for keeping your camera steady during long exposures.
- Remote Shutter Release / Intervalometer: To avoid camera shake, use a remote shutter release or an intervalometer to trigger your shots.
- Star Tracker: For deep-sky astrophotography, a star tracker will allow you to take longer exposures without star trails.
- Head Torch
- Warm Clothing
- Fingerless Gloves

4. Post-Processing Tips
- Noise Reduction: Use software like Adobe Lightroom or Photoshop to reduce noise in your images. Tools like Topaz DeNoise AI are also popular for astrophotographers.
- Stacking Software: For star trails or deep-sky objects, use stacking software like DeepSkyStacker or Sequator to combine multiple exposures and reduce noise while enhancing detail.
- Enhance Colours: Boost contrast and adjust the white balance to bring out the colours of the night sky, like the core of the Milky Way or the vibrant hues of nebulae.

5. Additional Tips for Astrophotography
- Plan Your Shoot: Use apps like PhotoPills or Stellarium to plan your shots, find the best times to capture celestial events, and determine the position of stars or the Milky Way.
- Check the Weather: Clear, moonless nights are ideal for astrophotography. Check weather forecasts and light pollution maps to find the best locations.
- Manual Focus: Autofocus often struggles in low light. Switch to manual focus and use live view to zoom in on a bright star or distant light source to focus accurately.
Quick Summary of Settings for Different Astro Shots:
- Milky Way: 20-30 seconds, f/2.8, ISO 1600-3200
- Star Trails: Several minutes or multiple exposures, f/2.8-f/4, ISO 800-1600
- Moon: 1/125th-1/250th second, f/8-f/11, ISO 100-400
- Deep Sky Objects: Several minutes, f/2.8 or wider, ISO 800-1600, with a star tracker
With the right settings, equipment, and a bit of patience, you’ll be able to capture awe-inspiring astrophotography images. Happy stargazing and shooting!

