Introduction to Videography: A Beginner’s Guide to Shooting Better Video in 2026
Videography has become an essential skill for modern creators—whether you’re filming travel content, social media clips, YouTube videos, or client work. The good news? You don’t need a cinema camera to get started. With the right settings, techniques, and a basic understanding of how video works, you can dramatically improve your results.
In this guide, we’ll break down the fundamentals of videography, including key camera settings, essential gear, and practical tips to help you start shooting better video straight away.

What You’ll Need (Gear Overview)
You don’t need a huge setup to get started, but a few key tools make a big difference:
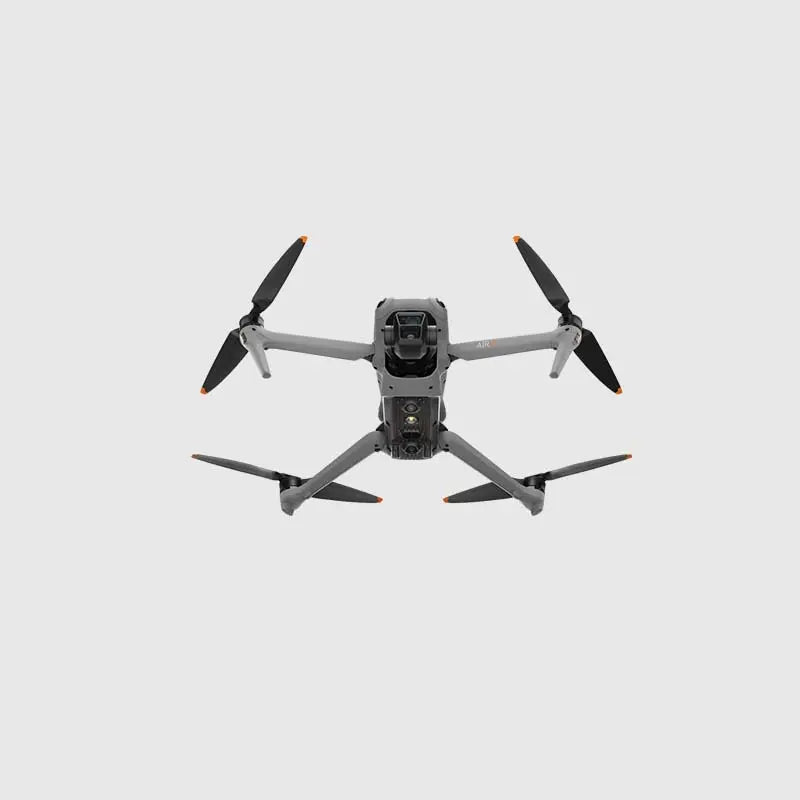
Camera Options:
-
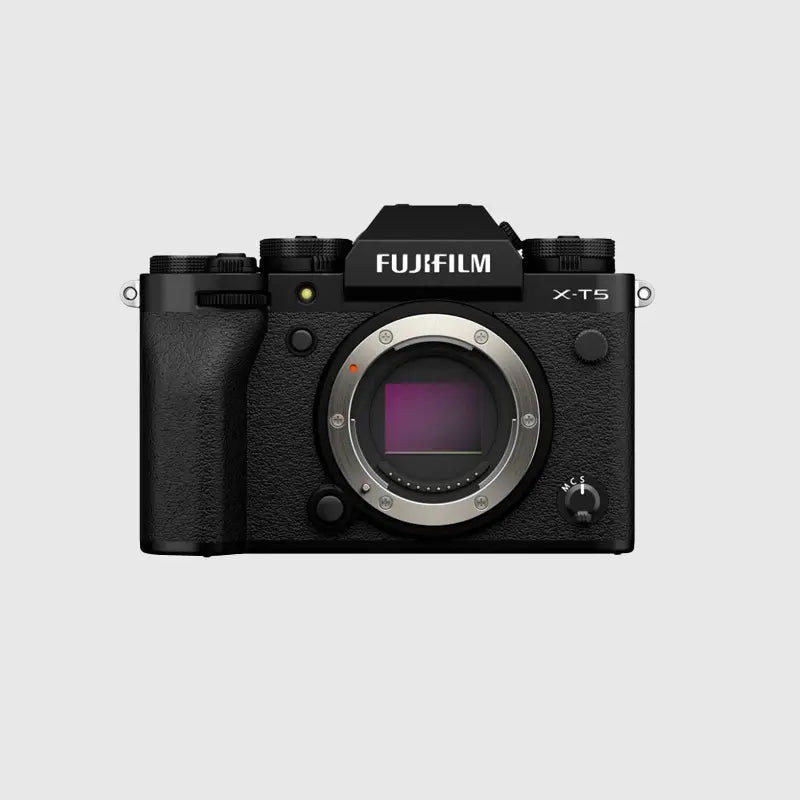
Mirrorless cameras (best balance of quality and control)
-
Compact cameras (great for portability)
-
Action cameras (ideal for POV and movement)
Lenses:
-
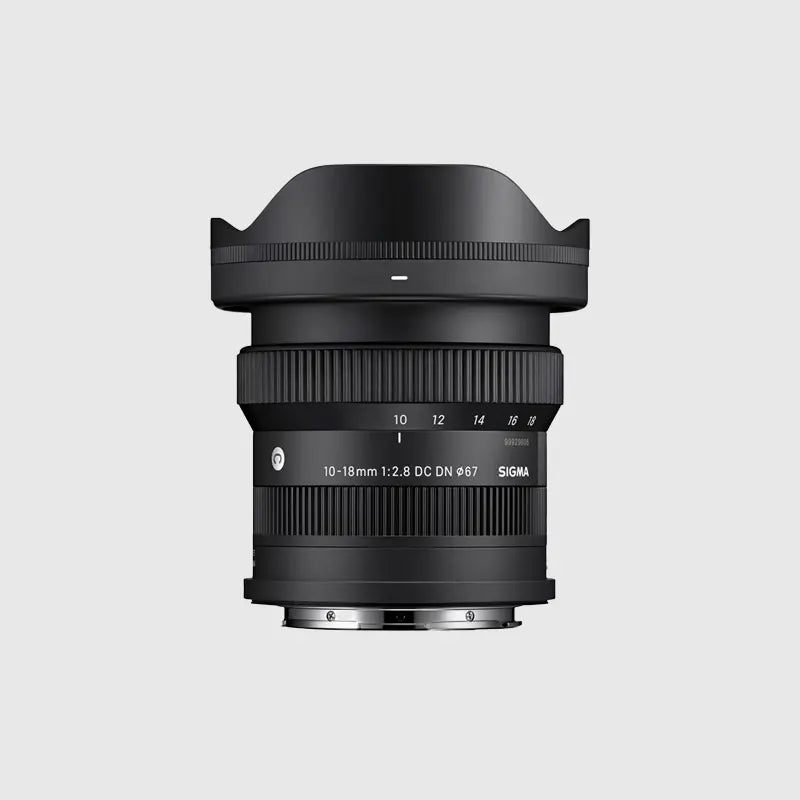
Wide-angle lenses for vlogging and travel
-
Standard zoom lenses for versatility
-
Fast primes for cinematic depth of field
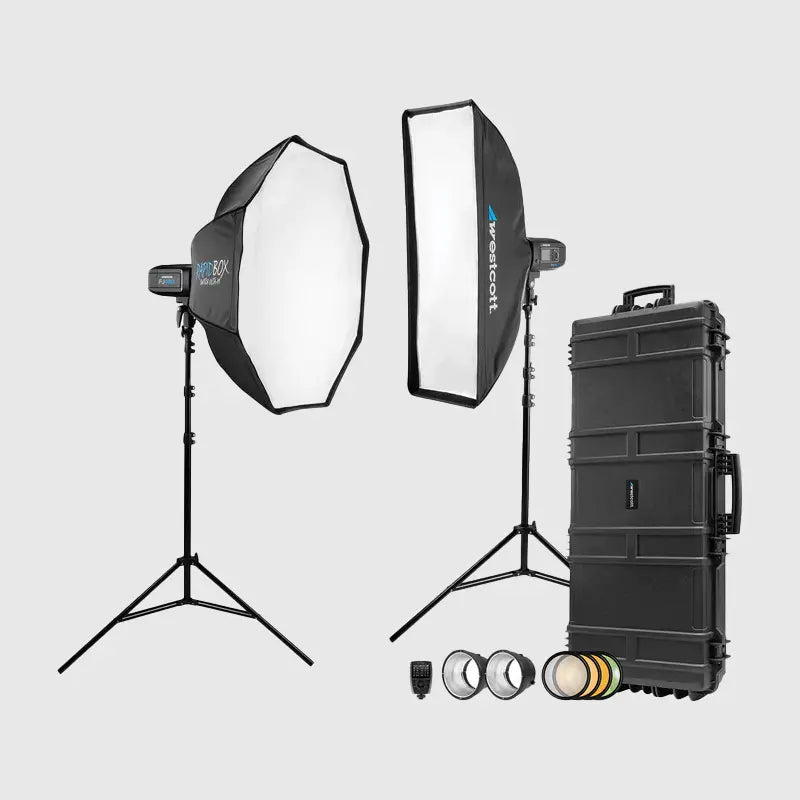
Optional Accessories:
-
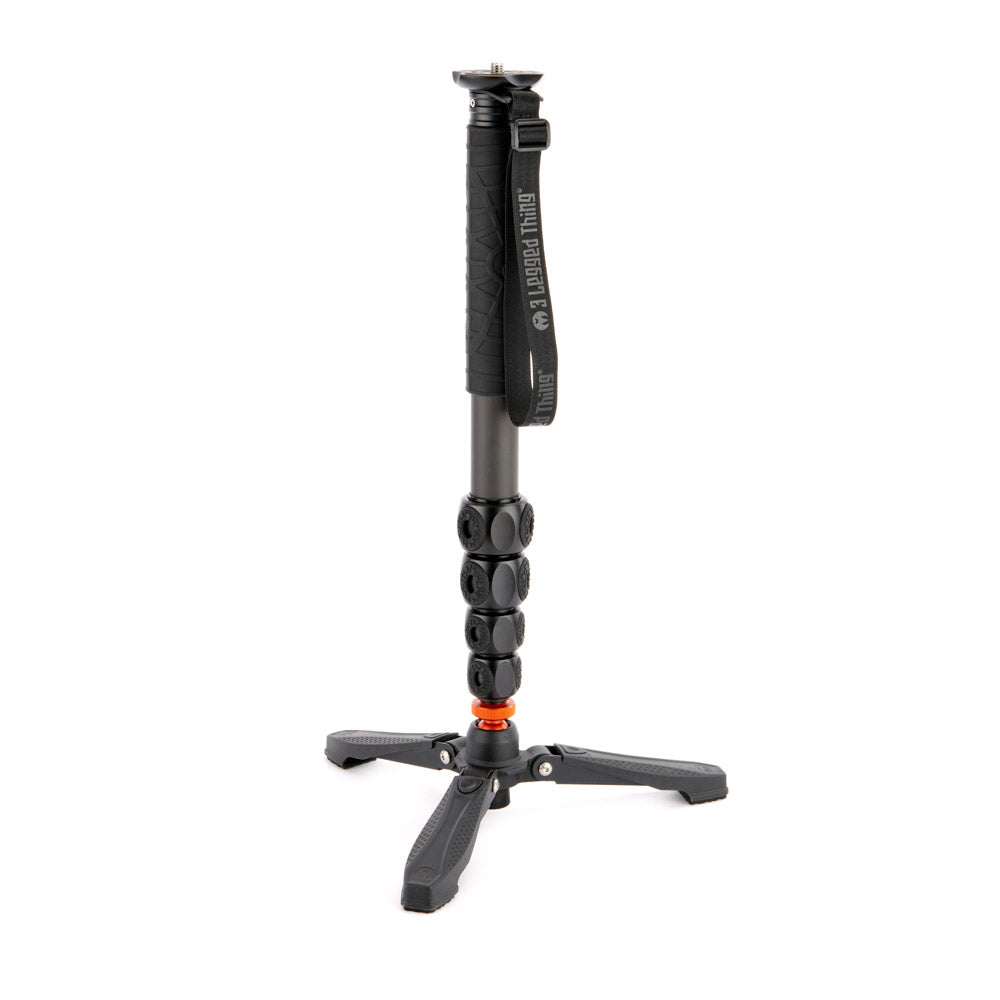
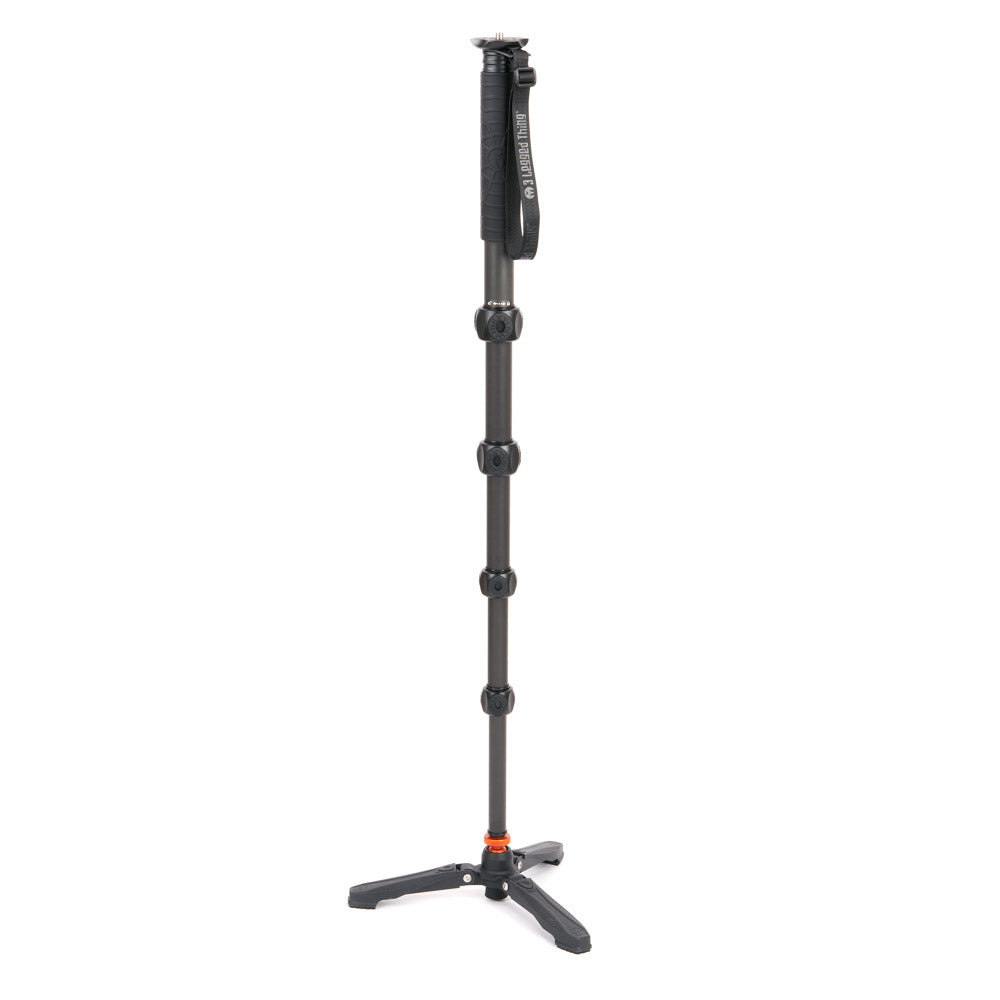
Tripod or monopod for stability
-
External microphone (massive upgrade over built-in audio)
-
ND filters for controlling exposure in bright conditions
👉 Start simple—good technique matters more than expensive gear.

Camera Settings Explained
This is where most beginners struggle—but once you understand these, everything clicks.
🎞️ Frame Rate
Frame rate determines how motion looks in your video.
-
24fps → Cinematic look (most common)
-
25fps → Standard for UK and Europe
-
30fps → Slightly smoother, widely used online
-
60fps+ → Ideal for slow motion
👉 If you’re unsure, start with 25fps or 30fps.
Pro tip: In the UK, 25fps works best under artificial lighting because it matches the country’s 50Hz electrical frequency—helping to prevent flickering when filming indoors.
⚡ Shutter Speed
For natural-looking motion, follow the 180-degree shutter rule: Shutter speed = 2X Frame rate
-
24fps → shutter speed around 1/50
-
25fps → shutter speed around 1/50
-
30fps → shutter speed around 1/60
-
60fps → shutter speed around 1/120
👉 This keeps motion blur looking realistic rather than sharp and unnatural.

🌙 ISO
ISO controls brightness but also introduces noise.
-
Keep ISO as low as possible
-
Increase only when needed in low light
👉 Clean footage is always better than bright but noisy footage.

🎯 Aperture
Aperture controls exposure and depth of field.
-
Wide aperture (f/1.8–f/2.8) → blurred background
-
Narrow aperture (f/5.6–f/11) → more in focus
👉 Use wider apertures for a more cinematic look.
Key Techniques
🎥 Stabilisation Matters
Shaky footage is one of the quickest ways to make video look unprofessional.
-
Use a tripod when possible
-
Enable in-body or lens stabilisation
-
Move slowly and deliberately when handheld

🎬 Composition & Framing
Good composition matters just as much in video as it does in photography.
-
Use the rule of thirds
-
Keep your subject well framed
-
Avoid distracting backgrounds
Pro tip: Use in-camera framing guides or on-screen overlays (like gridlines) to keep your compositions consistent and well-balanced while shooting.

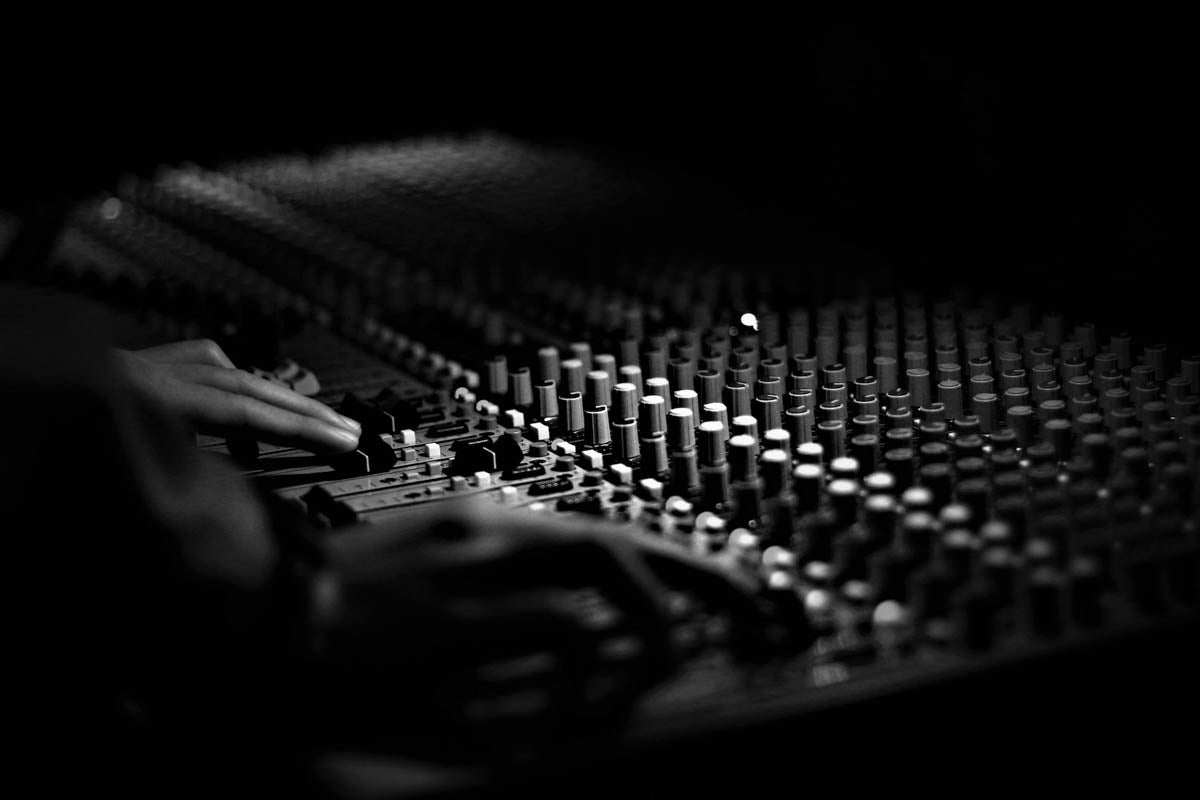
🔊 Audio is Just as Important
People will tolerate slightly soft visuals—but not bad audio.
-
Use an external microphone where possible
-
Avoid windy environments without protection
-
Monitor audio levels if your camera allows
💡 Lighting Makes the Biggest Difference
-
Natural light is your best starting point
-
Position subjects facing light sources
-
Avoid harsh midday sunlight when possible

Common Mistakes to Avoid
-
Using auto settings without understanding them
-
Ignoring shutter speed (causing unnatural motion)
-
Relying on built-in microphones
-
Overexposing highlights (especially skies)
-
Moving the camera too quickly
💡 Pro Tips
-
Keep clips short and intentional—don’t just record everything
-
Shoot with editing in mind (think sequences, not single shots)
-
Use slow motion sparingly for impact
-
Learn basic colour correction—it makes a huge difference
-
Practice consistently—video improves quickly with repetition

Recommended Gear (Natural Integration)
If you’re getting started with videography, consider:
-
A mirrorless camera with strong video autofocus
-
A versatile zoom lens for flexibility
-
A fast prime lens for cinematic shots
-
A compact microphone for clean audio
-
A tripod or stabiliser for smoother footage
👉 Build your setup gradually based on how you shoot.

Where to Start (Real-World Practice)
One of the best ways to improve quickly is to practise in real environments:
-
Film a short sequence at a local location
-
Capture a mix of wide, medium, and close-up shots
-
Try filming movement (walking, waves, traffic)
-
Experiment with different lighting conditions
👉 Think in sequences—video is storytelling, not just single clips.

Conclusion
Getting started with videography doesn’t have to be complicated. By understanding a few key settings and focusing on technique, you can create high-quality video with almost any modern camera.
Start simple, practise regularly, and improve one step at a time. Over time, you’ll develop your own style and workflow.
If you’re looking to get into video or upgrade your current setup, feel free to speak to our team—we’re always happy to help you find the right gear and get started.