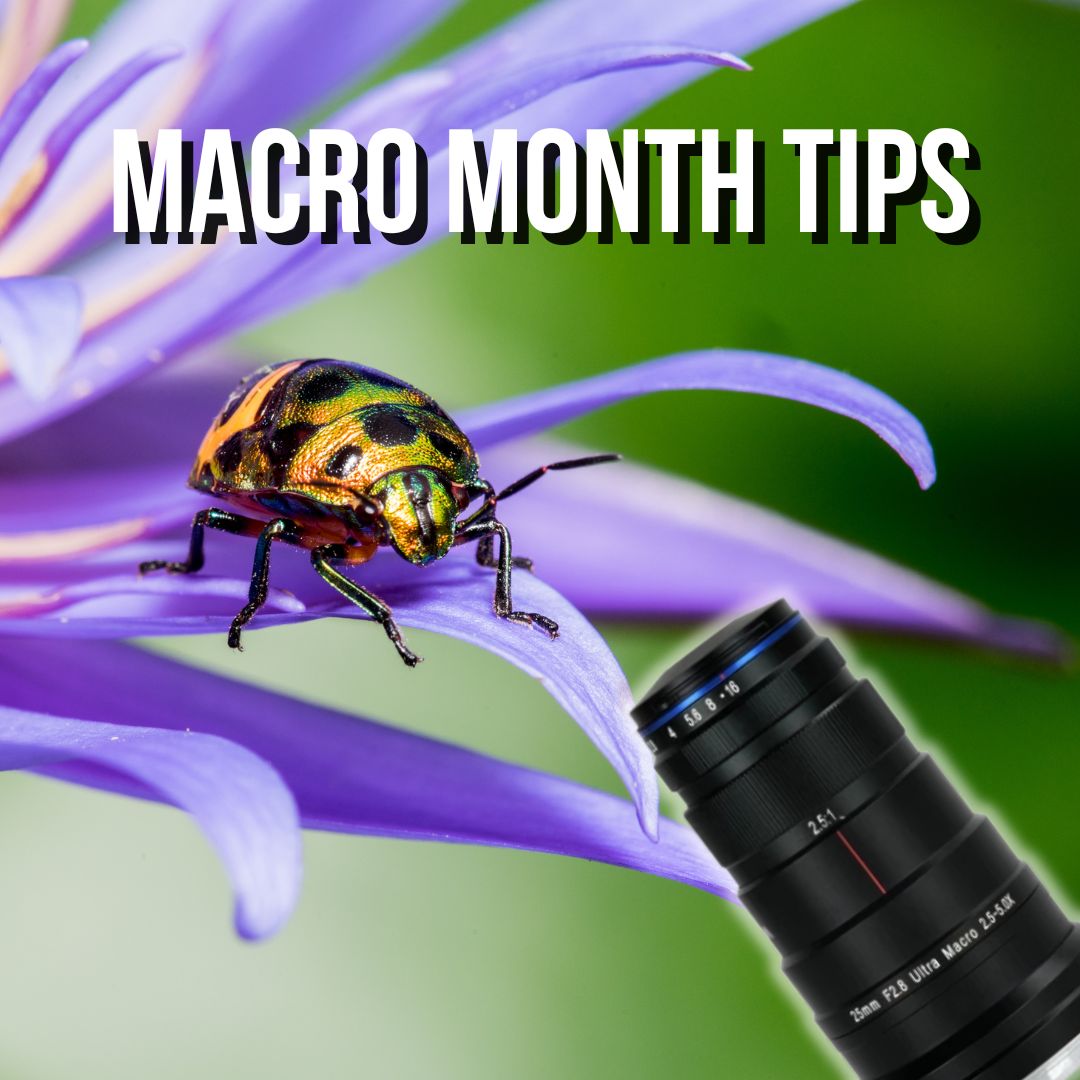
Mastering Macro Photography: Tips and Techniques
Macro photography opens up a world of intricate details, allowing you to capture the beauty of small subjects that are often overlooked by the naked eye. Whether you're photographing insects, flowers, or everyday objects, macro photography can reveal textures, patterns, and details that transform the mundane into the extraordinary. Here are some essential tips to help you master the art of macro photography.
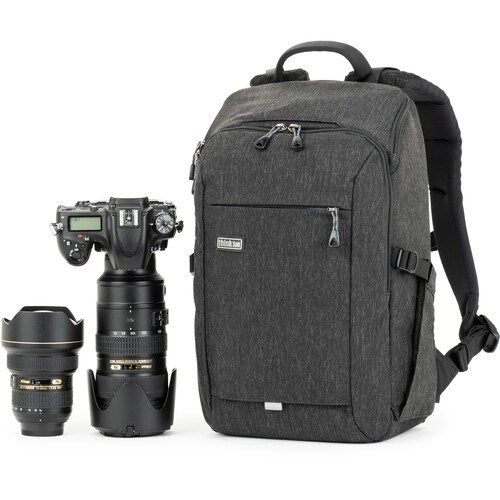
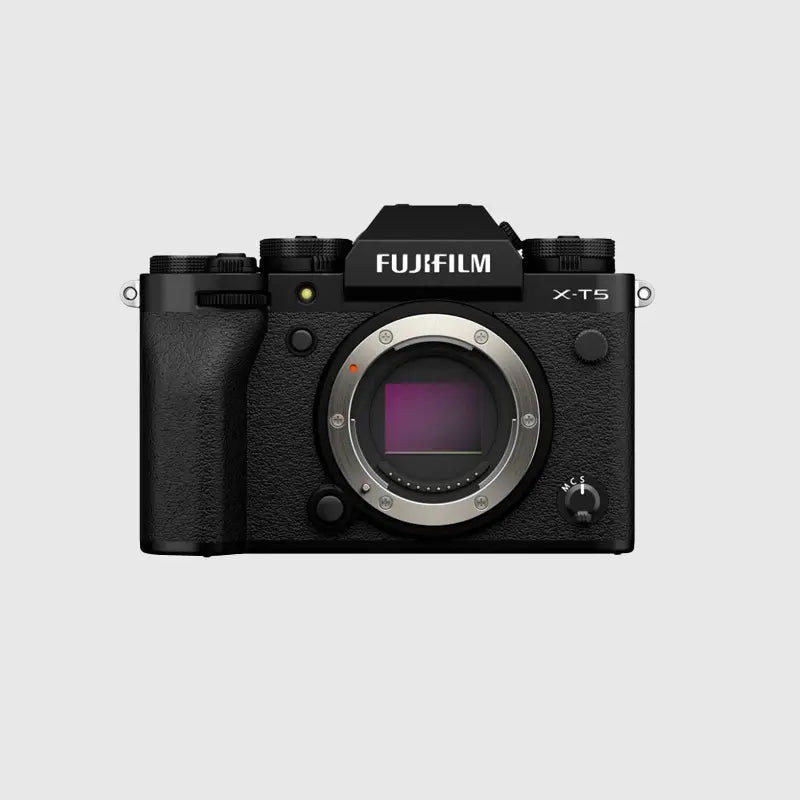
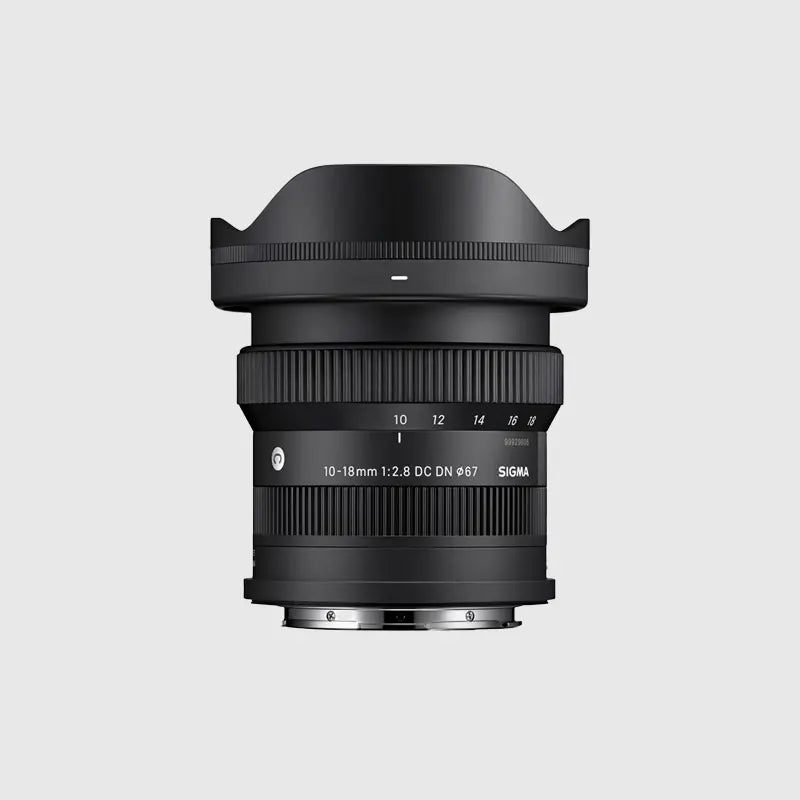
1. Choose the Right Equipment (see macro lenses here)
A dedicated macro lens is ideal for capturing fine details. These lenses are designed to focus closely and often offer a 1:1 magnification ratio, meaning the subject appears life-size on the camera sensor. If you don’t have a macro lens, extension tubes or close-up filters can also work.

Tip: Ensure your lens is clean, as dust and smudges can become very noticeable in macro shots.
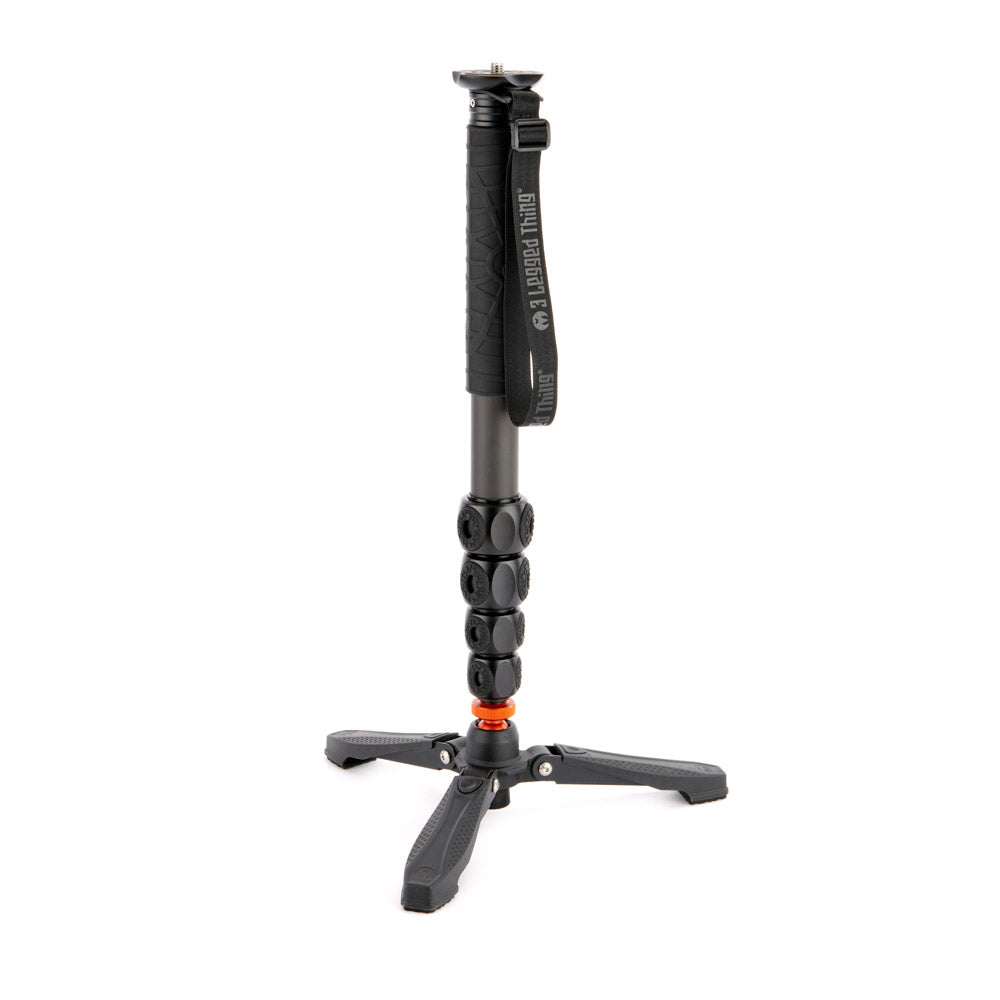
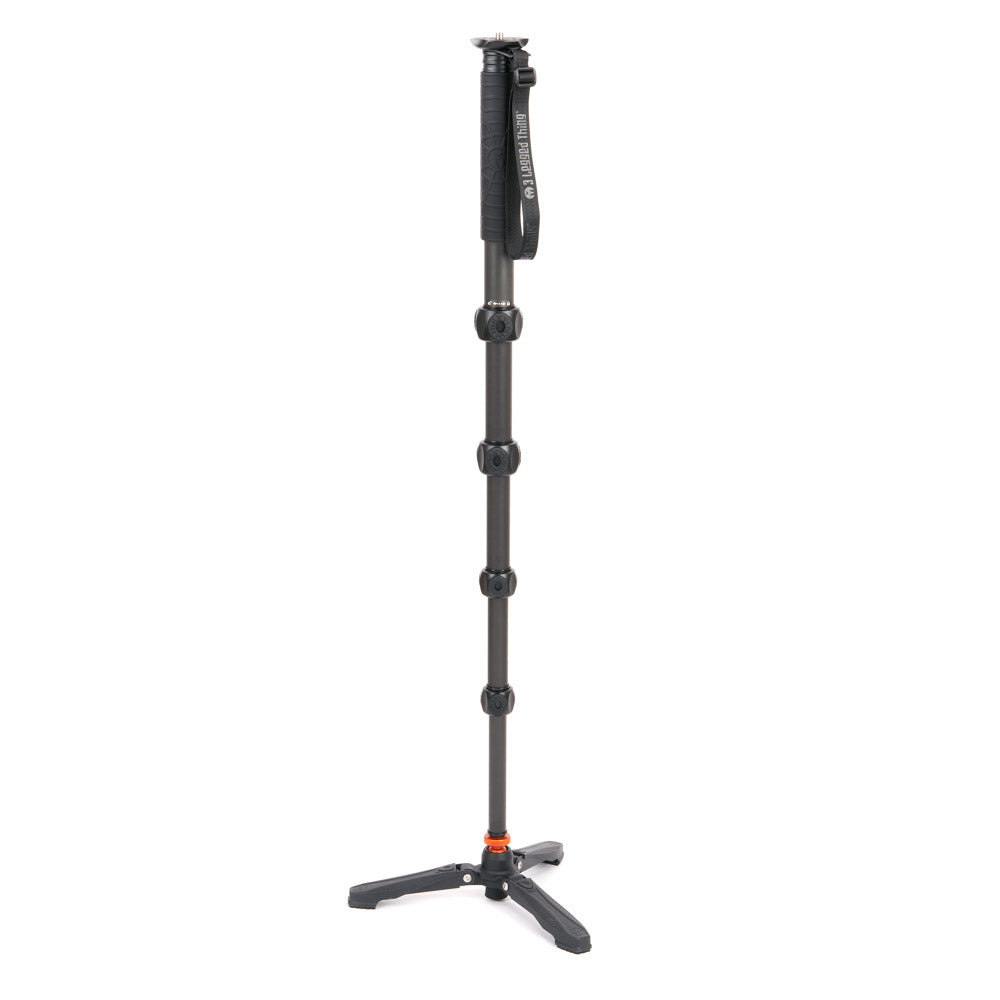
2. Use a Tripod

Stability is crucial in macro photography, where even the slightest movement can cause blurriness. A sturdy tripod helps keep your camera steady, allowing you to focus precisely on your subject.
Tip: Use a remote shutter release or the camera’s self-timer to minimize camera shake when taking the shot.
3. Perfect Your Focus
Autofocus can struggle with macro photography due to the shallow depth of field. Switch to manual focus to have greater control and precision. Focus on the most critical part of your subject, such as the eyes of an insect or the centre of a flower.

Tip: Utilize focus stacking, a technique where multiple images at different focus points are combined, to achieve greater depth of field.
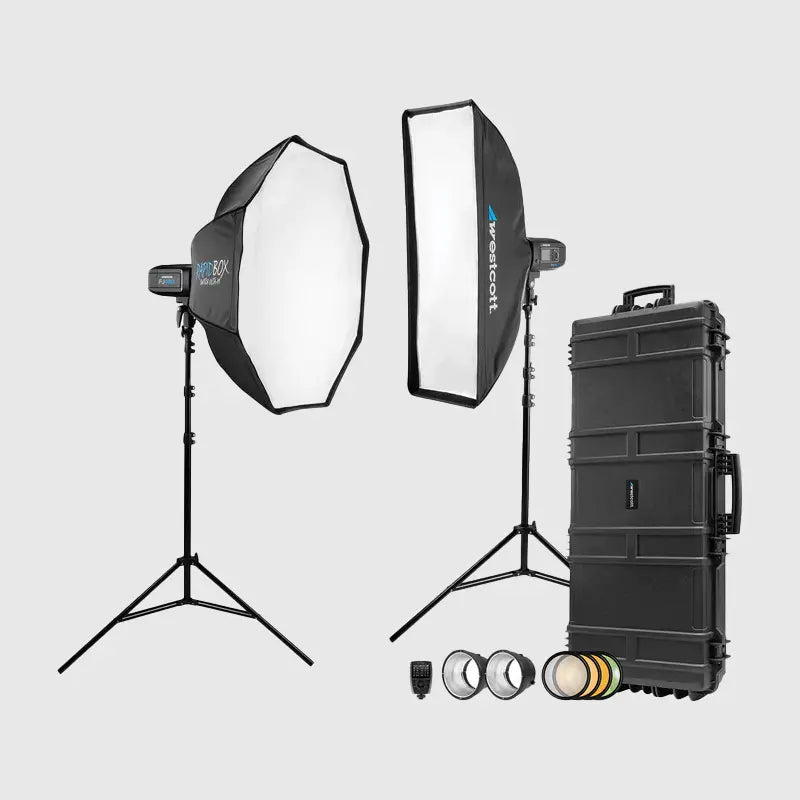
4. Optimize Your Lighting

Natural light is often the best for macro photography. Early morning or late afternoon light provides a soft, diffused glow. However, in some cases, additional lighting might be necessary. Ring lights or small LED panels can be useful for illuminating your subject without causing harsh shadows.
Tip: Use reflectors or diffusers to control and soften the light, reducing harsh highlights and shadows.
5. Mind Your Background
A cluttered background can distract from your subject. Aim for a clean, simple background that complements your subject. You can use a piece of coloured paper, a fabric, or even adjust your shooting angle to achieve this.
Tip: A shallow depth of field can also help blur the background, making your subject stand out.
6. Experiment with Angles and Perspectives
Macro photography offers a chance to see the world from a new perspective. Don’t be afraid to experiment with different angles and compositions. Shoot from above, below, or the side to find the most interesting and dynamic view.
Tip: Get close, but not too close. Maintain a safe distance to avoid disturbing delicate subjects like insects or flowers.
7. Pay Attention to Composition

While the rule of thirds is a helpful guideline, don’t be afraid to break it for creative compositions. Look for leading lines, symmetry, and patterns that can add interest to your shots.
Tip: Use the grid lines on your camera’s display to help frame your shot and ensure level horizons.
8. Patience and Practice
Macro photography often requires patience. Subjects like insects can be unpredictable, and achieving the perfect shot might take time. Practice regularly and be prepared to take many shots to get the one perfect image.
Tip: Study the behaviour of your subjects. Knowing when a flower blooms or when insects are most active can increase your chances of success.
Conclusion
Macro photography is a fascinating and rewarding genre that can transform ordinary subjects into extraordinary works of art. By choosing the right equipment, mastering focus and lighting, and experimenting with angles and compositions, you can capture stunning images that reveal the intricate details of the world around us. Happy shooting!

Feel free to share your macro photography tips and experiences in the comments below. Let’s inspire each other to see the world up close!
Frequently Asked Questions
1. Can I practice macro photography without a dedicated macro lens?
While a macro lens is ideal for capturing detailed close-up shots, you can still practice macro photography using alternative techniques. Options include using extension tubes, close-up filters, or even reversing a standard lens. These methods allow you to get closer to your subject and achieve some level of macro magnification.
2. How important is lighting in macro photography?
Lighting plays a crucial role in macro photography as it can make or break your images. Properly managing lighting helps create the right mood, enhance details, and bring out the textures of your subjects. Natural light or diffused artificial light sources are often preferred to avoid harsh shadows and highlights.
3. How do I achieve a sharp focus in macro photography?
Achieving sharp focus in macro photography can be challenging due to the shallow depth of field. To improve focus, it is recommended to use a smaller aperture (higher f-number) to increase the depth of field, utilize focus stacking techniques, and stabilize your camera using a tripod or other means to reduce camera shake.
4. What post-processing techniques can I use to enhance my macro images?
Post-processing can greatly enhance the impact of your macro images. Techniques such as adjusting brightness and contrast, sharpening details, and fine-tuning colors can help bring out the best in your macro shots. Software applications like Adobe Lightroom or Photoshop offer a wide range of tools specifically designed for image editing and enhancement.