Ask any seasoned photographer what makes or breaks an image, and most will tell you: it’s the light. Whether you're shooting portraits, products, landscapes, or events, understanding and controlling light is one of the most valuable skills you can develop. In this blog post, we’ll take a deep dive into lighting for photography — from natural to artificial sources, modifiers, lighting setups, and essential gear to help you master it.

Why Lighting Matters
Light affects:
-
Mood and emotion
-
Exposure and contrast
-
Texture and detail
-
Depth and dimensionality
-
Focus and direction
Learning to observe, shape, and control light enables you to tell stories visually, highlight your subject’s features, and create a distinct style.

Types of Lighting in Photography
1. Natural Light
This is sunlight or any ambient light available without artificial sources.
Advantages:
-
Free and always available outdoors
-
Soft and flattering during golden hour
-
Excellent for lifestyle and street photography
Challenges:
-
Can be harsh at midday
-
Changes quickly
-
Limited control
Tips:
-
Use reflectors to bounce light onto your subject
-
Position your subject near windows for directional light indoors
-
Shoot during golden hour (sunrise/sunset) for soft, warm tones

2. Artificial Light
Any man-made light source such as strobes, LEDs, or flash.
Advantages:
-
Complete control over intensity, direction, and quality
-
Consistent, repeatable results
-
Works in any environment, regardless of time or weather
Types:
-
Continuous Lighting: LEDs or tungsten bulbs that stay on (great for video and beginners)
-
Flash (Speedlight): Portable, on-camera/off-camera flash units
-
Strobes: Powerful, professional flashes used in studio setups

Qualities of Light
To truly master lighting, you must understand its key characteristics:
1. Intensity
How bright the light is. Adjust it by changing the distance, using modifiers, or dimming.
2. Direction
Where the light is coming from in relation to your subject — e.g., front, side, back, or top.
Common setups:
-
Front light: Even exposure, low shadow
-
Side light: Adds drama and depth
-
Backlight: Creates silhouettes or rim light
-
Top/bottom light: Unusual, can be stylised or harsh
3. Quality
-
Soft light: Diffused, with gentle transitions between light and shadow (e.g., on cloudy days or through softboxes)
-
Hard light: Harsh, with crisp shadows (e.g., bare flash or midday sun)
4. Colour Temperature
Measured in Kelvins (K), this affects the mood of your image:
-
Warm (e.g., candlelight): ~2000K–3000K
-
Neutral/daylight: ~5000K–5500K
-
Cool (e.g., overcast sky): ~6000K+
Use white balance settings or gels to control the colour cast.

Lighting Modifiers Explained
Lighting modifiers are essential for shaping and softening light. Here are the most common types:
1. Softbox
A box that diffuses light to produce soft shadows. Ideal for portraits and product shots.
2. Umbrella
Reflective or shoot-through umbrella spreads light widely. Portable and beginner-friendly.
3. Reflector
Bounces existing light onto your subject. Comes in silver, gold, white, or black.
4. Beauty Dish
Creates contrasty, flattering light, especially for beauty and fashion photography.
5. Snoot
Narrows the beam of light for a spotlight effect.
6. Gels
Coloured filters that alter the colour of your light source. Used for creative effects or colour correction.
7. Flags and Gobos
Used to block or shape light. Great for creating dramatic effects or avoiding lens flare.

Common Lighting Setups
1. One-Light Setup
-
One light source (usually softbox or umbrella)
-
Simple and effective for portraits
-
Can be enhanced with a reflector
2. Two-Light Setup
-
Key light (main source) + fill light (less powerful to reduce shadows)
-
Balanced and flattering
-
Used for headshots and corporate work
3. Three-Light Setup
-
Key light + fill light + rim/hair light (adds separation from the background)
-
Great for commercial and fashion photography
4. High-Key Lighting
-
Bright, low-contrast, often white backgrounds
-
Common in commercial, beauty, and e-commerce
5. Low-Key Lighting
-
Dark, moody lighting with deep shadows
-
Used in fine art, cinematic, and dramatic portraits

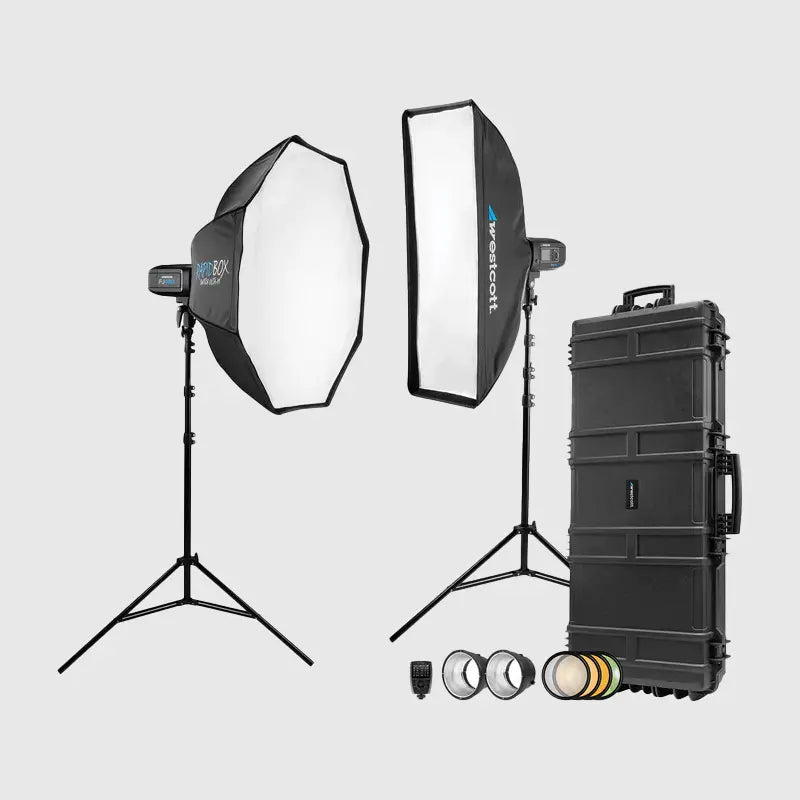
Essential Gear for Lighting
| Gear | Use |
|---|---|
| Speedlight (Flash) | Portable, flexible light source; can be bounced or diffused |
| Studio Strobes | High-power flash for consistent results in studio |
| LED Panels | Continuous lighting, great for video and ambient control |
| Light Modifiers | Softboxes, umbrellas, gels, etc. for shaping light |
| Triggers & Receivers | Wireless control of off-camera flash units |
| Light Stands & Booms | Support lights and modifiers safely |
| Light Meter | Precisely measures light intensity |
| Backgrounds | White, black, chroma green, or textured backdrops for control |

Lighting Tips for Different Genres
Portraits
-
Use a large softbox or umbrella at 45° angle
-
Catchlights in eyes add life
-
Consider rim lighting for depth
Product Photography
-
Soft, even lighting to eliminate harsh shadows
-
Use a light tent or diffusion panels
Food Photography
-
Side or backlighting enhances texture
-
Use reflectors to fill shadows
Real Estate
-
Combine ambient with flash for natural-looking interiors
-
Use light stands and wireless flash triggers

Lighting Jargon Buster
| Term | Meaning |
|---|---|
| Key Light | The main light in your setup |
| Fill Light | Secondary light used to reduce contrast and shadows |
| Rim Light | Light placed behind to create a glow or outline |
| Bounce | Indirect light reflected off a surface |
| TTL (Through The Lens) | Auto flash exposure mode used in flashes |
| Light Falloff | Gradual reduction in light intensity over distance |
| Inverse Square Law | Light intensity drops dramatically with distance |

Final Thoughts
Lighting is both a science and an art. The more you experiment, the more intuitive it becomes. Whether you’re shooting in natural light or building complex artificial setups, understanding the qualities, direction, and tools of lighting will elevate your photography from good to unforgettable.

Don’t be afraid to play with light — it’s your most powerful tool as a photographer.