Exposure is one of the most critical elements in photography, determining how light or dark an image appears. Understanding exposure is essential for photographers who wish to move beyond automatic settings and take creative control over their images. In this guide, we’ll explore the key components of exposure and how to achieve a perfect balance.

The Exposure Triangle: Aperture, Shutter Speed, and ISO
At the heart of exposure lies the exposure triangle: aperture, shutter speed, and ISO. These three settings work together to control the amount of light that reaches your camera’s sensor. Let’s break down each component:

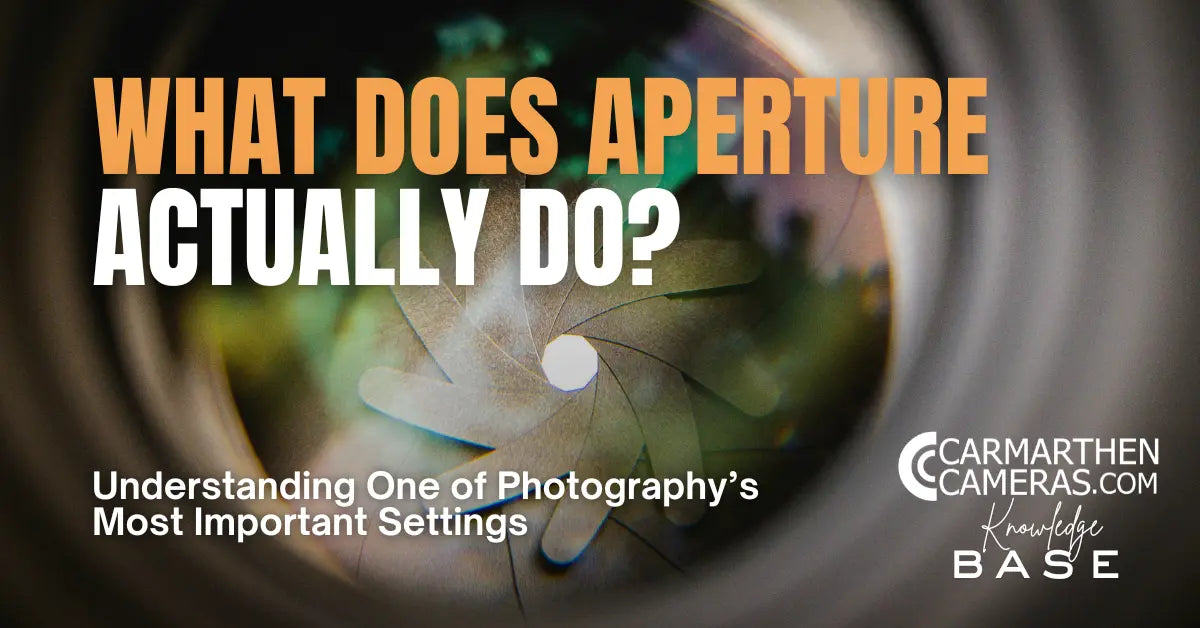
Aperture
Aperture refers to the opening in a lens through which light enters the camera. It is measured in f-stops (e.g., f/1.8, f/4, f/16). A smaller f-stop number indicates a larger opening, allowing more light to enter. Conversely, a larger f-stop number means a smaller opening and less light.

Creative Impact: Aperture also controls depth of field—the area of an image that appears in focus. Wide apertures (e.g., f/1.8) create a shallow depth of field, making the subject stand out against a blurred background. Narrow apertures (e.g., f/16) keep more of the scene in focus, ideal for landscapes.

Shutter Speed
Shutter speed is the length of time the camera’s shutter remains open to expose the sensor to light. It is measured in fractions of a second (e.g., 1/1000, 1/60, 2 seconds).


Creative Impact: Shutter speed affects motion in your photos. Fast shutter speeds (e.g., 1/1000) freeze action, perfect for sports or wildlife photography. Slow shutter speeds (e.g., 1/10 or longer) create motion blur, ideal for capturing flowing water or light trails.

ISO
ISO measures the sensitivity of your camera’s sensor to light. Lower ISO values (e.g., ISO 100) are less sensitive and produce cleaner images. Higher ISO values (e.g., ISO 3200) increase sensitivity but may introduce noise or grain.


Creative Impact: Adjusting ISO allows you to shoot in varying light conditions. For instance, in low light, increasing ISO can help achieve proper exposure without a tripod, though it’s essential to balance this with potential image noise.

Achieving Perfect Exposure
Perfect exposure is the result of balancing the three elements of the exposure triangle. Here’s how to approach it:
-
Evaluate the Lighting: Assess the scene and its lighting conditions. Bright sunlight, shade, or artificial light will influence your settings.
-
Choose Your Priority: Decide which aspect of your image is most important—depth of field, motion, or noise levels.
-
Adjust the Settings:
-
Set aperture for desired depth of field.
-
Select shutter speed based on motion or stability needs.
-
Adjust ISO to achieve the right balance without overexposing or introducing excessive noise.
-
-
Use a Light Meter: Your camera’s light meter, displayed in the viewfinder, helps you determine if your settings are properly balanced. Aim for a centred meter reading as a starting point.

Tools and Techniques for Better Exposure
-
Histogram: Use your camera’s histogram to evaluate exposure. The graph shows the distribution of light and dark areas in your image. Aim for a balanced histogram without clipping highlights or shadows.
-
Exposure Compensation: In semi-automatic modes like Aperture Priority, use exposure compensation to adjust brightness levels without changing your selected settings.
-
Bracketing: Capture multiple shots at different exposures to ensure you get the perfect shot, especially in tricky lighting conditions.


Creative Use of Exposure
Once you’ve mastered the basics, exposure becomes a powerful creative tool. Play with underexposure for moodier images or overexposure for a high-key effect. Experimenting with exposure settings allows you to define your unique style and bring your artistic vision to life.
Final Thoughts
Mastering exposure is a journey that transforms your photography from good to great. By understanding the interplay of aperture, shutter speed, and ISO, and by using tools like histograms and light meters, you’ll gain full control over your images. Start experimenting today, and watch as your photography reaches new heights.