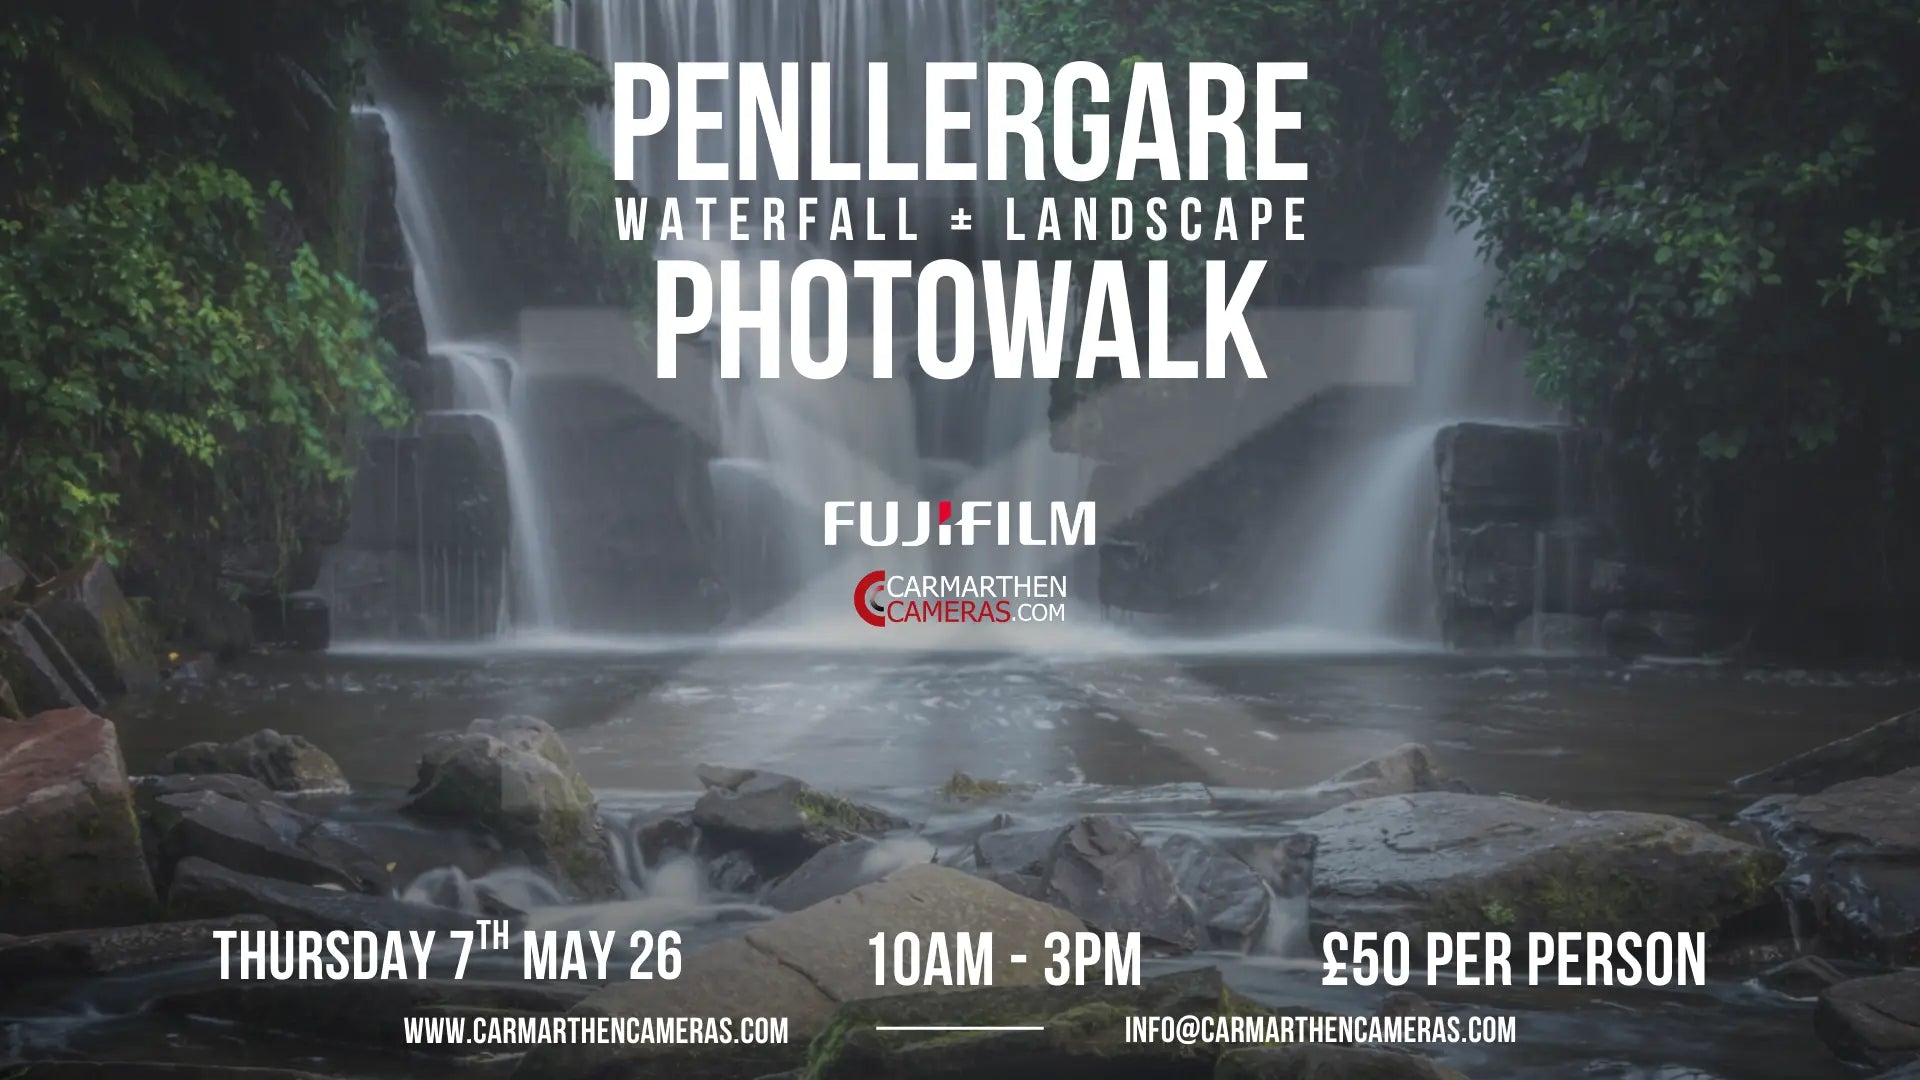
Photography is a beautiful art form that lets you capture and share the world around you. Whether you’re using a smartphone, a compact camera, or a DSLR, understanding the basics of photography will help you take better and more meaningful photos. In this comprehensive guide, we’ll cover everything you need to know to get started on your photography journey.
1. Understanding Your Camera
Before you dive into taking photos, it’s essential to understand your camera and its features. Here are the main types of cameras you may encounter:
- Smartphone Cameras: Most people start with smartphone cameras. They are convenient and easy to use, with features like portrait mode and night photography.
- Compact Cameras: These are small and lightweight, making them ideal for casual photography. They often have fixed lenses and simple controls.
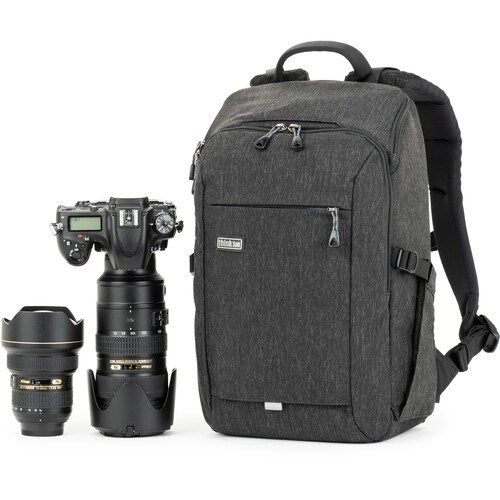
- DSLR (Digital Single-Lens Reflex) Cameras: DSLRs are popular among beginners and professionals. They offer interchangeable lenses, manual controls, and high-quality images.
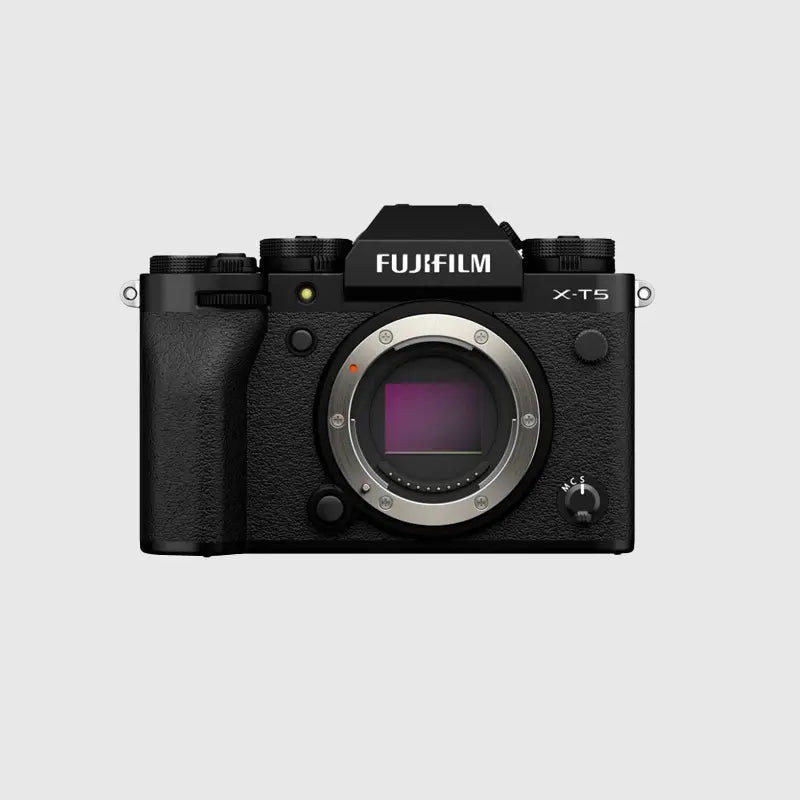
- Mirrorless Cameras: Similar to DSLRs, mirrorless cameras are lighter and more compact. They also have interchangeable lenses and advanced features.
Tip: Spend time reading your camera’s manual and experimenting with different settings. Understanding how your camera works is crucial for improving your skills.
2. The Exposure Triangle
The exposure triangle consists of three fundamental settings that control how light is captured by your camera: aperture, shutter speed, and ISO. Balancing these settings is key to getting a well-exposed image.
a. Aperture (f-stop)
- Definition: Aperture refers to the opening in the lens that allows light to enter. It is measured in f-stops (e.g., f/2.8, f/5.6, f/11).
- How It Works: A lower f-stop (e.g., f/2.8) means a wider aperture, letting in more light and creating a shallow depth of field (blurry background). A higher f-stop (e.g., f/11) means a narrower aperture, letting in less light and creating a deeper depth of field (everything in focus).
- When to Use: Use a wide aperture for portraits to blur the background, and a narrow aperture for landscapes to keep everything in focus.
b. Shutter Speed
- Definition: Shutter speed controls how long the camera’s sensor is exposed to light. It is measured in seconds or fractions of a second (e.g., 1/250th, 1/60th, 5 seconds).
- How It Works: A fast shutter speed (e.g., 1/1000th) freezes motion, while a slow shutter speed (e.g., 1/30th) captures motion blur.
- When to Use: Use a fast shutter speed for action shots and sports. Use a slow shutter speed for long-exposure photography, such as capturing light trails or flowing water.
c. ISO
- Definition: ISO measures the sensitivity of your camera’s sensor to light. It is usually represented as ISO 100, 200, 400, 800, etc.
- How It Works: A lower ISO (e.g., ISO 100) produces a cleaner image with less noise, while a higher ISO (e.g., ISO 1600) increases brightness but adds noise (grain).
- When to Use: Use a low ISO in bright conditions and a higher ISO in low-light situations. Be mindful of noise when using higher ISO settings.
3. Basic Composition Techniques
Composition refers to how elements are arranged in a photo. Here are some simple yet effective composition techniques to improve your images:
a. Rule of Thirds
- Divide your frame into a 3x3 grid and place your subject along one of the grid lines or at the intersections. This creates a balanced and visually appealing image.
b. Leading Lines
- Use natural lines, such as roads, fences, or rivers, to lead the viewer’s eye to the subject. Leading lines add depth and make your photos more engaging.
c. Framing
- Use elements in the foreground, like windows, archways, or tree branches, to frame your subject. Framing draws attention to the subject and adds context to the image.
d. Fill the Frame
- Get close to your subject or use zoom to fill the frame, eliminating distractions and making your subject the focal point of the image.
e. Negative Space
- Leave empty space around your subject to create a sense of simplicity and draw more attention to the subject. This is particularly effective in minimalist photography.
4. Lighting Basics
Lighting is a crucial element in photography. Understanding how to use and manipulate light will help you create stunning images.
a. Natural Light
- Golden Hour: The hour after sunrise and the hour before sunset are known as the golden hour. The light is soft, warm, and flattering for most subjects.
- Midday Light: Harsh midday light creates strong shadows. Use this light creatively or find shaded areas for softer lighting.
- Overcast Light: Cloudy days provide diffused, even lighting, which is great for portraits and macro photography.
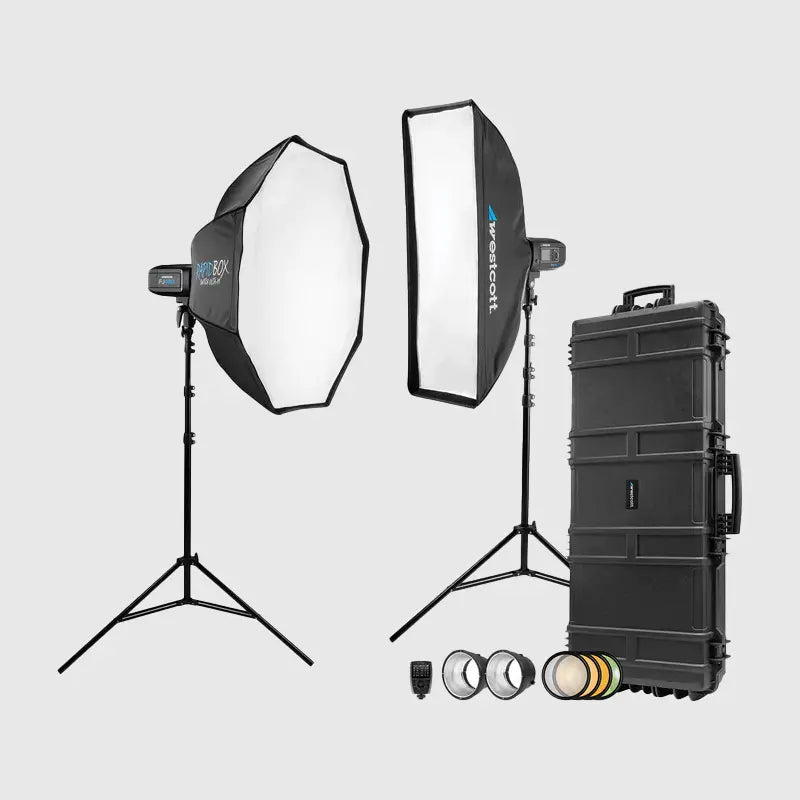
b. Artificial Light
- On-Camera Flash: Use your camera’s built-in flash sparingly, as it can create harsh lighting. Consider using an external flash or bouncing the light for a more natural effect.
- Continuous Lighting: For indoor photography, use continuous lights or lamps to illuminate your subject evenly.
5. Understanding White Balance
White balance adjusts the colour temperature of your photos to make colours look more natural. Most cameras have white balance presets (e.g., Daylight, Cloudy, Tungsten). Experiment with these settings to see how they affect your images.
Tip: You can also set a custom white balance or adjust it during post-processing to achieve the desired colour effect.
6. Choosing the Right Lens
The lens you use can make a significant difference in your photography. Here’s a quick guide to common lens types:
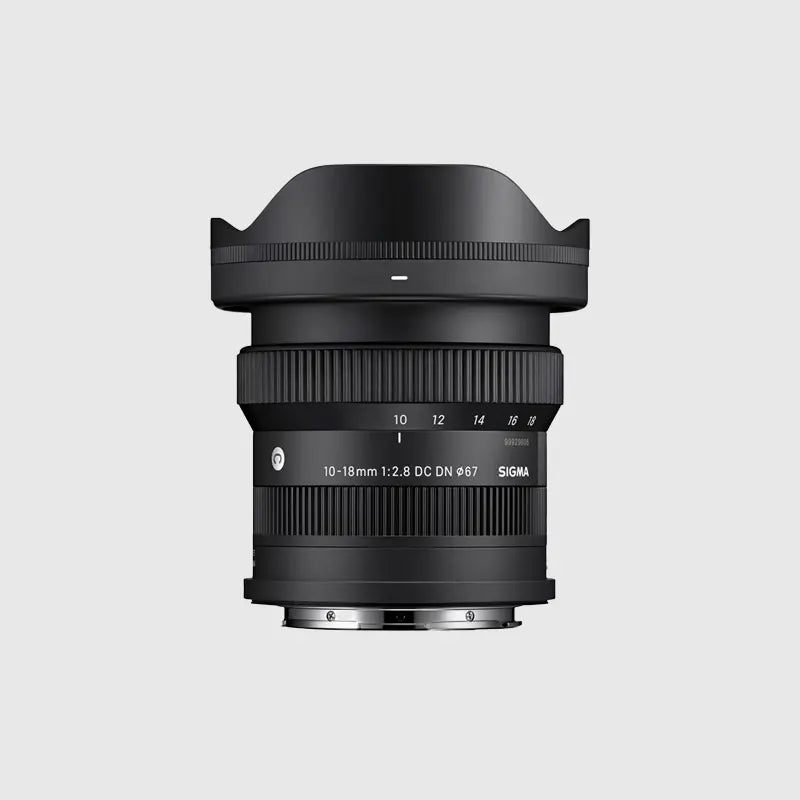
- Wide-Angle Lenses: Great for landscapes, architecture, and group shots. They have a wider field of view.
- Standard Lenses: These lenses (e.g., 50mm) are versatile and ideal for everyday photography.
- Telephoto Lenses: Perfect for wildlife, sports, and portraits. They allow you to zoom in on distant subjects.
- Macro Lenses: Designed for close-up photography, ideal for capturing fine details of flowers, insects, or small objects.
7. Editing Your Photos
Post-processing can enhance your images and bring out their full potential. Here are some essential adjustments to make:
- Exposure and Contrast: Adjust the brightness and contrast to improve the overall look of your image.
- White Balance: Correct any colour cast to make your colours look more accurate.
- Sharpening: Add sharpening to enhance details, but be careful not to overdo it.
- Cropping and Straightening: Crop out distractions and straighten the horizon for a cleaner composition.
Popular editing software includes Adobe Lightroom, Photoshop, and free options like Snapseed and GIMP.
8. Practice, Practice, Practice
The best way to improve your photography skills is to practice regularly. Experiment with different settings, lighting conditions, and subjects. Don’t be afraid to make mistakes; every photo you take is an opportunity to learn.
Tip: Join a photography community or take part in photo challenges to stay inspired and get constructive feedback on your work.
Final Thoughts
Photography is a journey of continuous learning and exploration. With the basics covered in this guide, you’re now equipped to start capturing the world around you creatively and confidently. So grab your camera, head out, and start shooting!
Happy photographing!

