Macro photography allows you to explore the tiny details of the world around you, capturing the beauty of insects, flowers, textures, and small objects up close. To get stunning macro shots, you’ll need to carefully adjust your camera settings and understand the principles of focus, lighting, and composition. Here’s a complete guide to help you perfect your macro photography.

1. Camera Settings for Macro Photography
Getting the right settings is crucial for capturing the intricate details of small subjects. Here are the essential settings to consider:

a. Aperture
- Narrow to Mid-Range Aperture (f/8 to f/16): Macro photography often requires a larger depth of field to keep your subject in focus. Use a narrow aperture (higher f-stop) like f/8, f/11, or f/16 to increase the depth of field, but be careful not to go too narrow (beyond f/22), as diffraction can reduce image sharpness.
- Wide Aperture (f/2.8 to f/5.6): For creative macro shots with a shallow depth of field, use a wider aperture to blur the background and make your subject pop. This works well when you want to highlight a specific detail, like the eyes of an insect or the petals of a flower.

b. Shutter Speed
- Fast Shutter Speed: Use a fast shutter speed (1/200th of a second or faster) if you’re shooting handheld or if your subject is moving, such as insects. This helps to reduce motion blur.
- Slow Shutter Speed: For still subjects, you can use a slower shutter speed, but a tripod is essential to avoid camera shake. Keep in mind that even slight movements can ruin your shot at close range.

c. ISO
- Low ISO: Use the lowest possible ISO setting (ISO 100-200) to reduce noise and maintain image quality. Increase the ISO only if necessary when shooting in low light.

2. Focus Techniques
- Manual Focus: In macro photography, precise focus is critical. Use manual focus to fine-tune your focus on the most important part of your subject, such as the eyes of an insect or the centre of a flower. Adjust slowly and carefully to get your subject tack-sharp.
- Focus Stacking: If your subject has a lot of depth and you want more of it in focus, consider taking multiple shots at different focus points and blending them together in post-processing using software like Helicon Focus or Photoshop.

3. Lighting for Macro Photography
Lighting can make or break a macro shot. Here are some lighting tips:
- Natural Light: Soft, diffused natural light is ideal for macro photography. Overcast days provide even lighting without harsh shadows, while shooting in the shade can also work well.
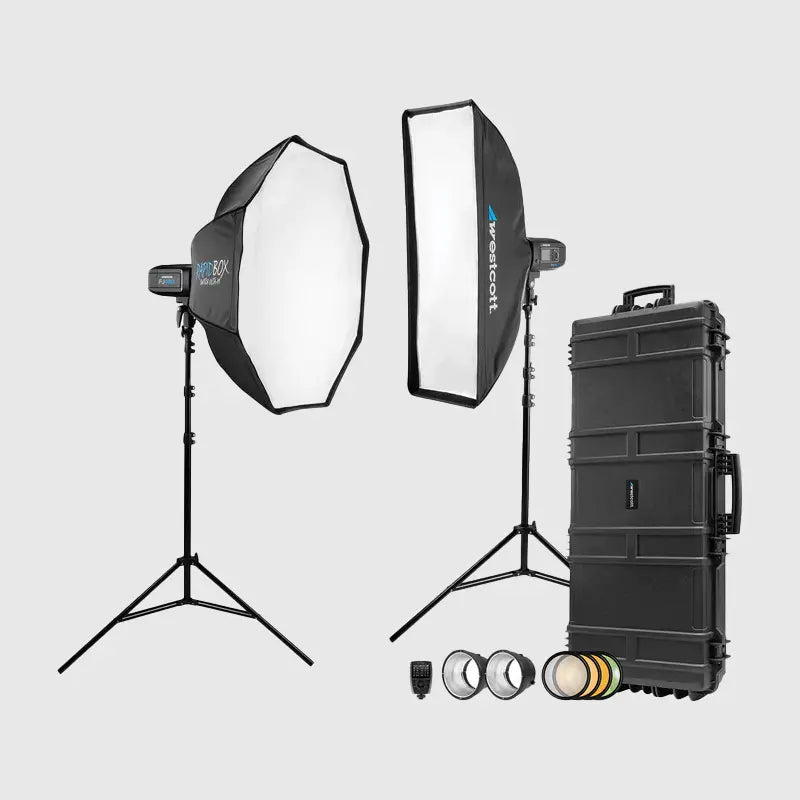
- Artificial Light: Use a ring light, LED panels, or a dedicated macro flash for consistent lighting. These can help eliminate shadows and brighten up your subject. Reflectors or diffusers can also be used to soften harsh light.
- Flash: A small, off-camera flash with a diffuser is useful for adding light to your subject and freezing motion. Macro flash units, like twin flash setups, are excellent for illuminating small subjects evenly.

4. Composition Tips for Macro Photography
- Fill the Frame: Get close enough to fill the frame with your subject and capture intricate details. Be careful not to crop out important elements unless it adds to the composition.
- Background: Pay attention to the background and try to keep it simple and uncluttered. A clean, blurred background helps your subject stand out.
- Angles and Perspectives: Experiment with different angles to create unique and interesting compositions. Shooting from below or from the side can reveal details that aren’t visible from above.

5. Use a Tripod
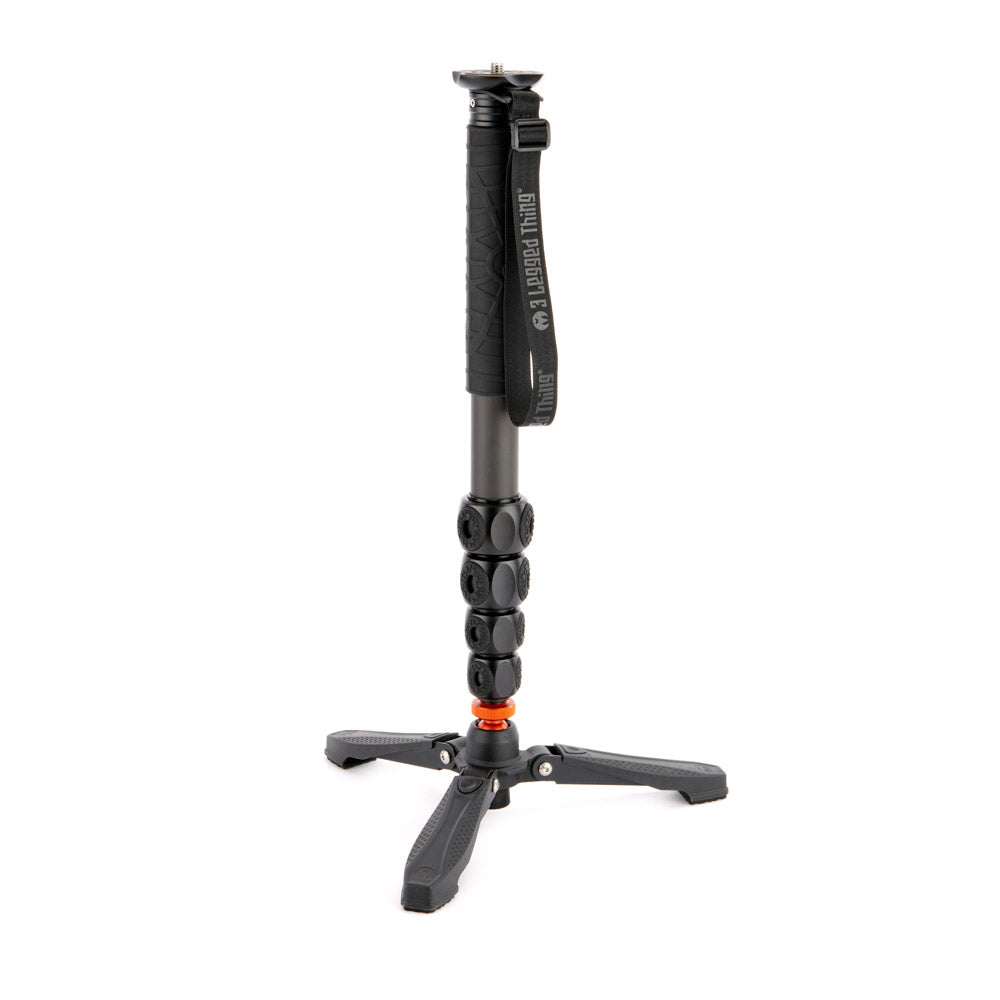
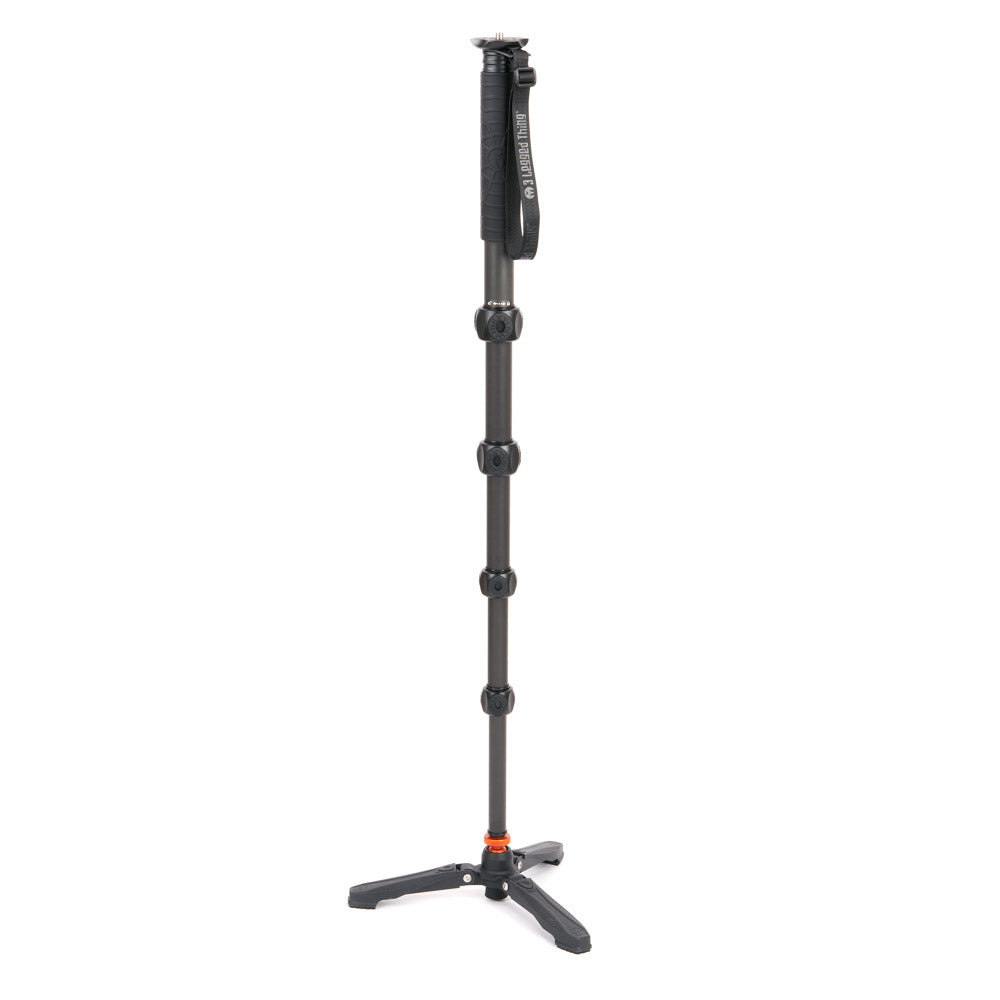
- Stability: A sturdy tripod is essential for macro photography, especially when using slow shutter speeds or for focus stacking. It keeps your camera steady and allows you to make precise adjustments to your composition and focus.
- Macro Rail: Consider using a focusing rail for fine adjustments when shooting very close. This can help you move the camera in tiny increments without shifting focus.
6. Lens Choice for Macro Photography
- Macro Lenses: Invest in a true macro lens with a 1:1 magnification ratio. Popular focal lengths include 60mm, 90mm, 100mm, and 180mm. Longer focal lengths (e.g., 100mm or 180mm) are ideal for photographing insects and shy subjects, as they allow you to maintain distance.
- Extension Tubes: If you don’t have a macro lens, you can use extension tubes to decrease the minimum focusing distance of your existing lenses and achieve a macro effect.
7. Depth of Field and Background Blur
- Shallow Depth of Field: At close range, even small apertures create a very shallow depth of field. Use this to your advantage to make your subject stand out from the background. Be sure to focus on the most important part of the subject, like the eyes.
- Background Blur: Use the distance between your subject and the background to control background blur. The further the background is from your subject, the more blurred it will appear.
8. Post-Processing Tips
- Sharpening: Apply sharpening selectively to highlight details. Be careful not to overdo it, as macro images can show noise more clearly.
- Noise Reduction: If you had to increase your ISO, use noise reduction software to minimise grain while preserving details.
- Colour and Contrast: Enhance the colours and contrast to make your subject stand out, but keep it natural-looking.
Quick Summary of Settings for Macro Photography:
- Aperture: f/8 to f/16 for a large depth of field; f/2.8 to f/5.6 for a shallow depth of field
- Shutter Speed: 1/200th of a second or faster for handheld shots; use a tripod for slower speeds
- ISO: Low (ISO 100-200), increase as needed for proper exposure
- Focus: Manual focus for precision, and consider focus stacking for greater depth
Additional Tips:
- Patience and Persistence: Macro photography requires patience, especially when photographing live subjects like insects. Take your time and be prepared to experiment.
- Watch the Wind: Even a slight breeze can move your subject and ruin your shot. Use windbreaks or wait for calm moments when shooting outdoors.
- Practice: Practice focusing and adjusting your settings on stationary objects before moving on to more challenging subjects.
By mastering these settings and techniques, you’ll be well-equipped to capture stunning macro images that reveal the hidden beauty of the tiny world around us. Happy shooting!

