Taking photos in low light can be tricky, even for experienced photographers. The lack of illumination can lead to blurry, grainy, or poorly exposed images if you don’t use the right techniques and settings. Here are some essential tips and tricks to help you capture stunning images, even when the light is scarce.

1. Use a Wider Aperture
One of the most effective ways to let more light into your camera is to use a wider aperture. The aperture is the opening in your camera lens that allows light to hit the sensor. It’s measured in f-stops, and a lower f-stop number means a wider aperture. For example, using f/1.8 or f/2.8 will let in more light compared to f/5.6 or f/11. This is particularly useful in low-light situations.
Tip: Be mindful that a wider aperture creates a shallower depth of field, which can be great for portraits but may not be ideal if you need more of your scene in focus.

2. Slow Down the Shutter Speed
Lowering your shutter speed can also help you capture more light. A slower shutter speed allows the camera sensor to collect more light over a longer period, brightening your image. However, this comes with a caveat: slow shutter speeds can lead to motion blur, especially if your hands or your subject moves.
Tip: Use a tripod to keep your camera steady when using a slower shutter speed. For handheld shots, try to stay above 1/60th of a second to minimise blur, depending on your lens and how steady you can hold the camera.

3. Increase the ISO
ISO determines how sensitive your camera's sensor is to light. In low-light situations, you may need to increase your ISO to brighten your image. Modern cameras perform well at higher ISO settings, but be cautious: the higher the ISO, the more digital noise or grain you may see in your images.
Tip: Experiment with your camera’s ISO settings to find a balance between a bright enough image and acceptable noise levels. Use noise reduction tools in post-processing software if necessary.

4. Stabilise Your Camera
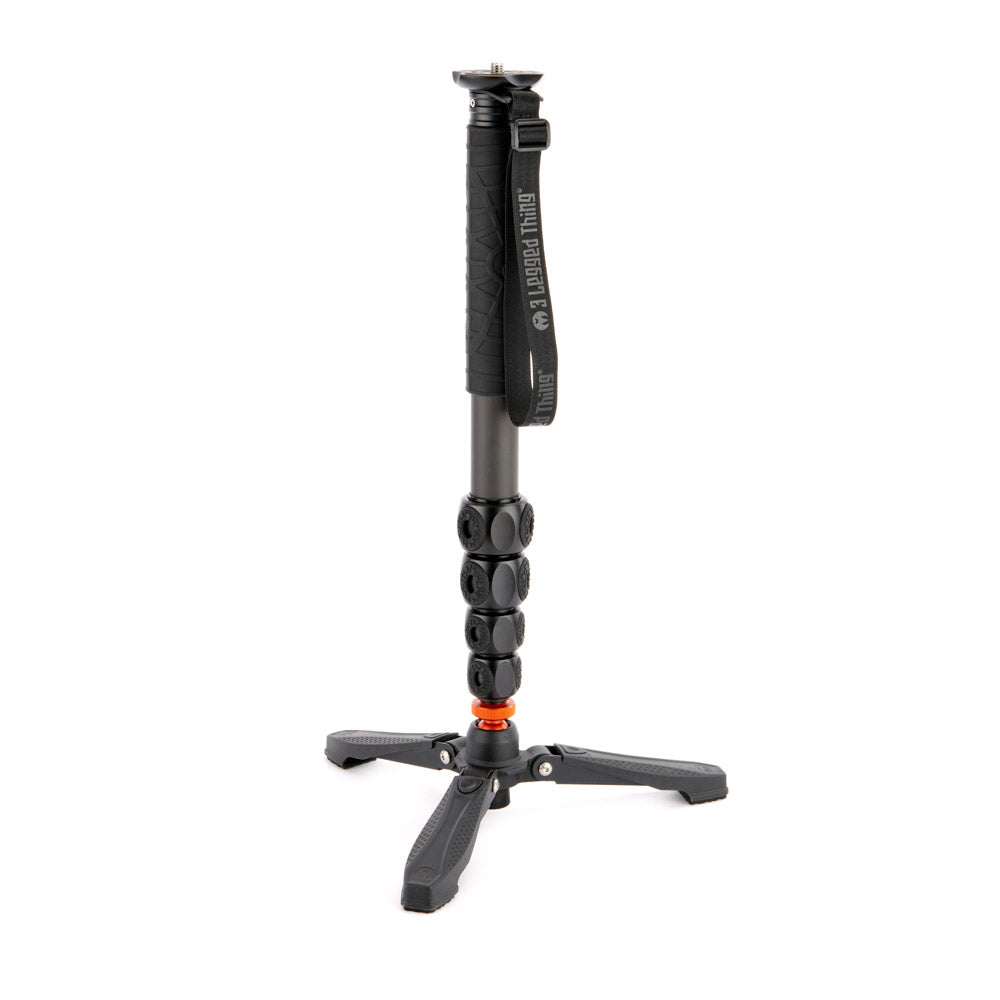
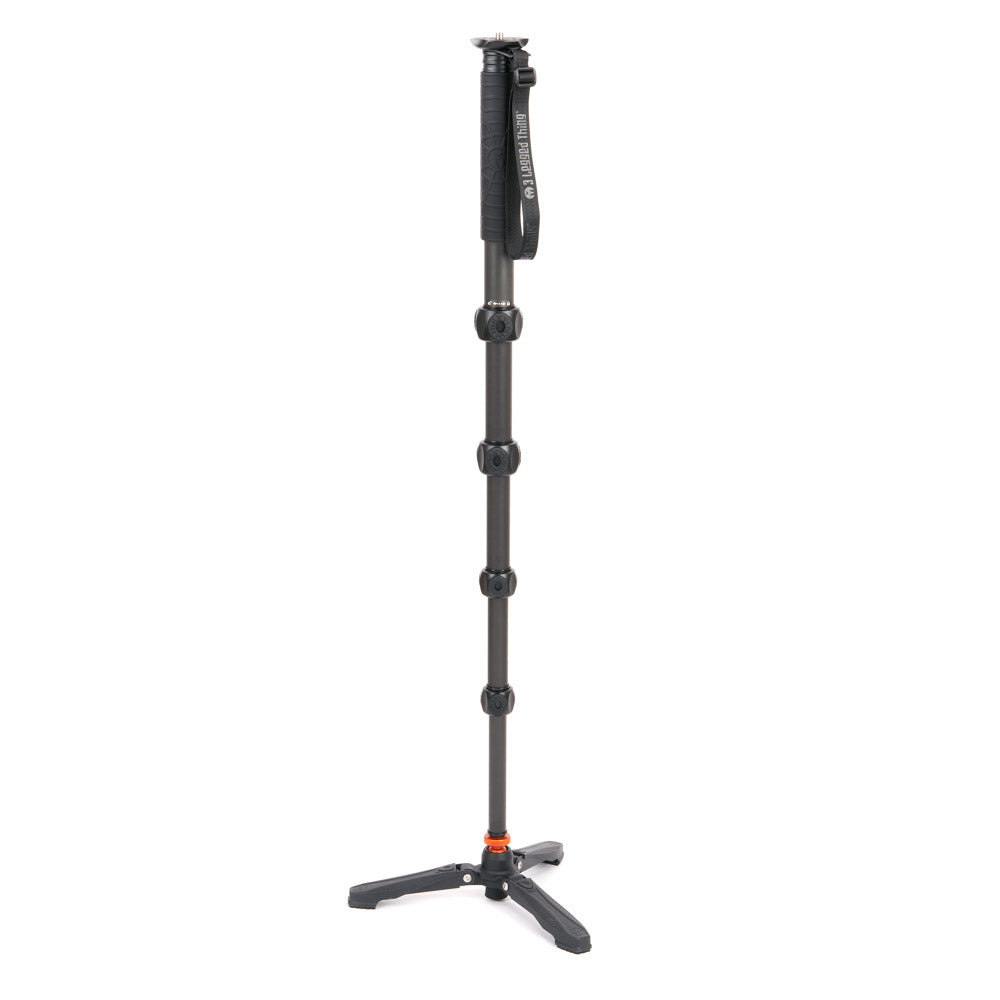
Using a tripod is one of the best ways to improve your low-light photography. It provides stability, which is crucial when using slower shutter speeds to capture more light. If a tripod isn’t available, rest your camera on a stable surface or use a lens with image stabilisation technology.
Tip: If you're taking photos indoors, you can also use walls, tables, or other sturdy objects to prop up your camera and reduce shake.

5. Use Available Light Sources
In low-light environments, make use of any available light, whether it’s streetlights, candles, or neon signs. Position your subject in such a way that they’re illuminated by these sources. You can even use reflective surfaces to direct light onto your subject for a more balanced exposure.
Tip: Play with the direction and intensity of the light to create dramatic effects, such as side lighting or backlighting.

6. Experiment with Manual Focus
In low light, your camera’s autofocus system might struggle to lock onto a subject, leading to missed shots or blurry images. Switching to manual focus can give you more control and ensure that your subject is sharp.
Tip: Use your camera’s focus peaking feature (if available) to help you manually focus in low-light situations.

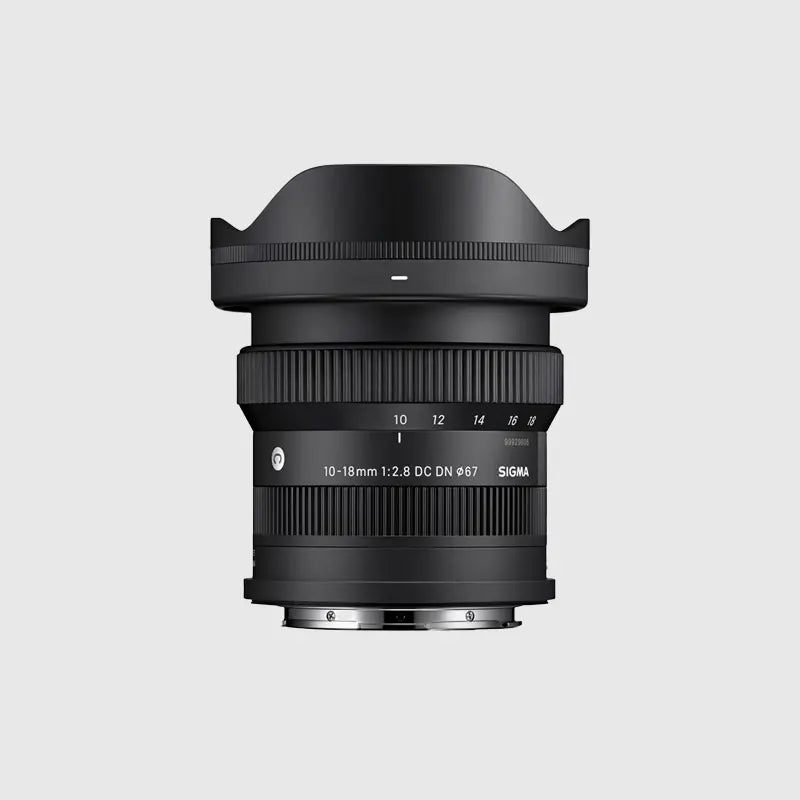
7. Use Fast Lenses
Investing in a fast lens with a wide maximum aperture (such as f/1.4, f/1.8, or f/2.8) can make a significant difference in your low-light photography. Prime lenses are often a great choice, as they tend to offer wider apertures compared to zoom lenses.
Tip: Lenses like the 50mm f/1.8 or 35mm f/1.4 are affordable options that work wonders in low light.

8. Consider Using External Light Sources
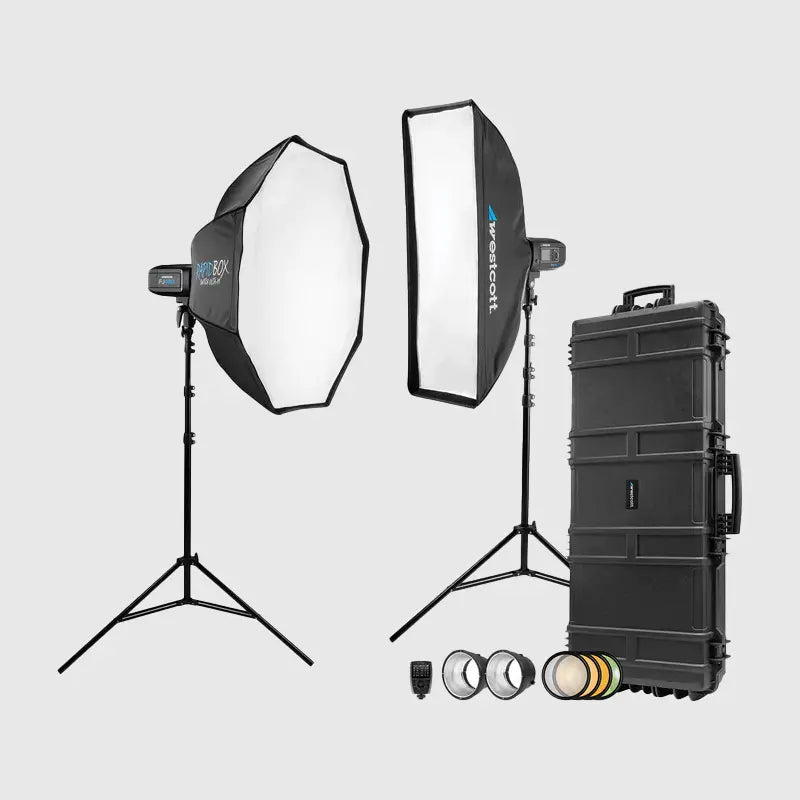
If natural or ambient light isn’t enough, consider using an external flash, LED light, or even your phone’s flashlight. You can bounce flash off walls or ceilings to soften the light and avoid harsh shadows. Alternatively, use a portable LED panel for more consistent lighting.
Tip: For a more natural look, try diffusing your flash or bouncing it to avoid overexposing your subject.

9. Post-Processing Tips
Don’t underestimate the power of post-processing software like Adobe Lightroom or Photoshop. You can adjust the exposure, reduce noise, and fine-tune the shadows and highlights to bring out the best in your low-light images.
Tip: Use noise reduction sparingly to maintain image detail, and experiment with the contrast and sharpness settings for a more polished look.
Conclusion
Mastering low-light photography takes practice, but by experimenting with these techniques, you’ll be well on your way to capturing stunning images even in challenging conditions. Remember to be patient and flexible, as low-light environments often require some trial and error to get the perfect shot. Happy shooting!

