How to Fix Blurry Photos: Settings, Gear & Techniques
Blurry photos are one of the most common frustrations for photographers at every level. Whether you're shooting family moments, wildlife, sports, or travel, nothing is more disappointing than capturing the perfect moment only to find it’s soft, out of focus, or shaky.
The good news is that blurry images are almost always fixable once you understand the cause. In this guide, we’ll break down exactly why your photos might be coming out blurry and how to fix them using the right settings, techniques, and gear. By the end, you’ll have a clear understanding of how to consistently achieve sharp, professional-looking results.

What You’ll Need
You don’t need expensive gear to get sharp images, but the right setup definitely helps.
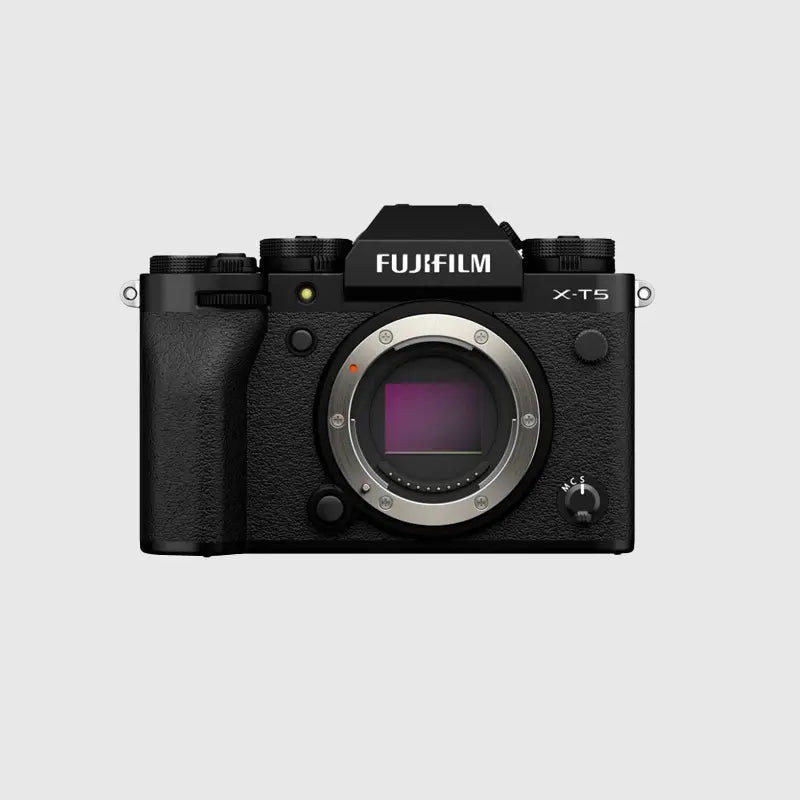
Camera Types
Most modern mirrorless and DSLR cameras offer excellent autofocus and image quality. Even entry-level models can produce sharp results when used correctly.
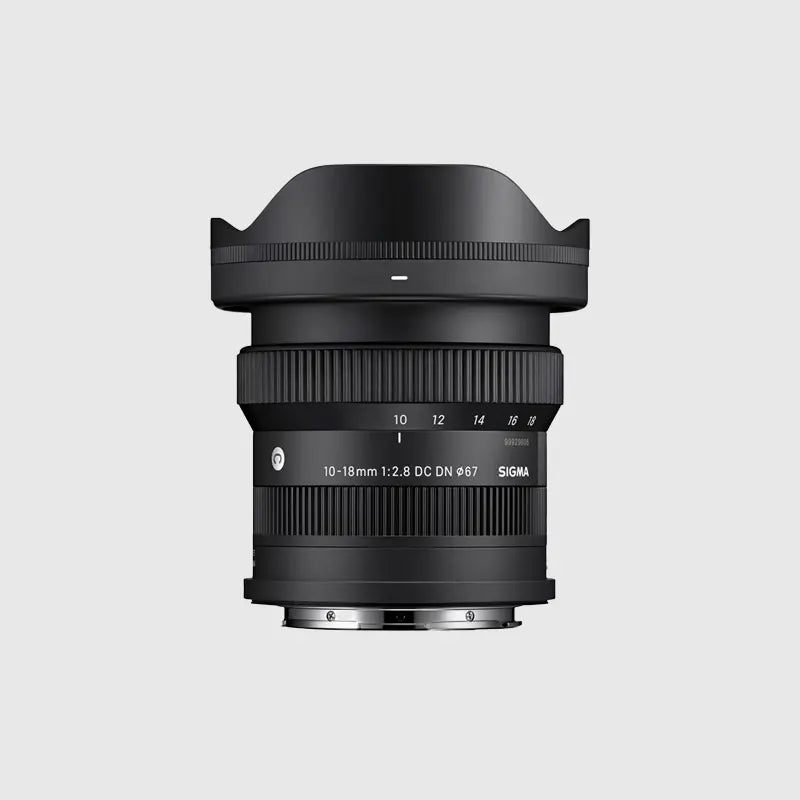
Lens Suggestions
-
A standard zoom (e.g. 18–55mm or 24–70mm equivalent) is great for everyday shooting
-
Prime lenses (e.g. 35mm or 50mm) offer sharper results and better low-light performance
Optional Accessories
-
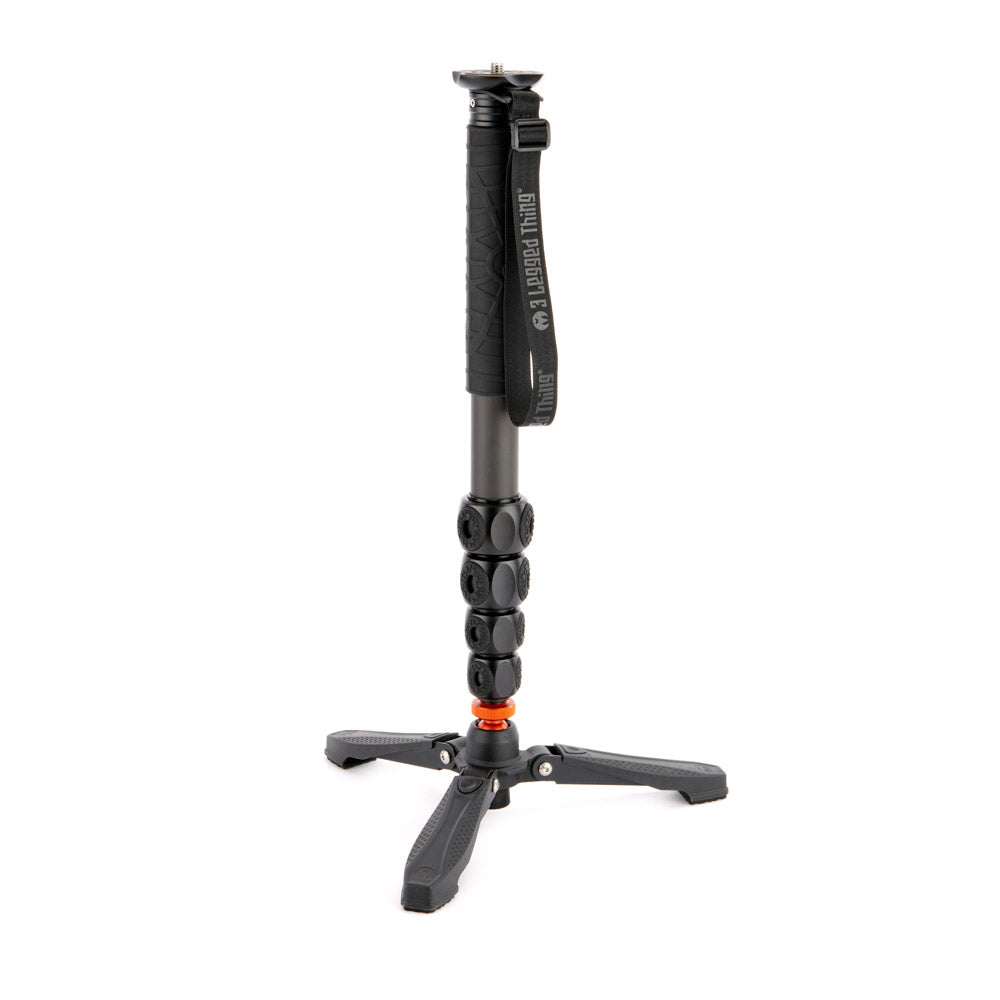
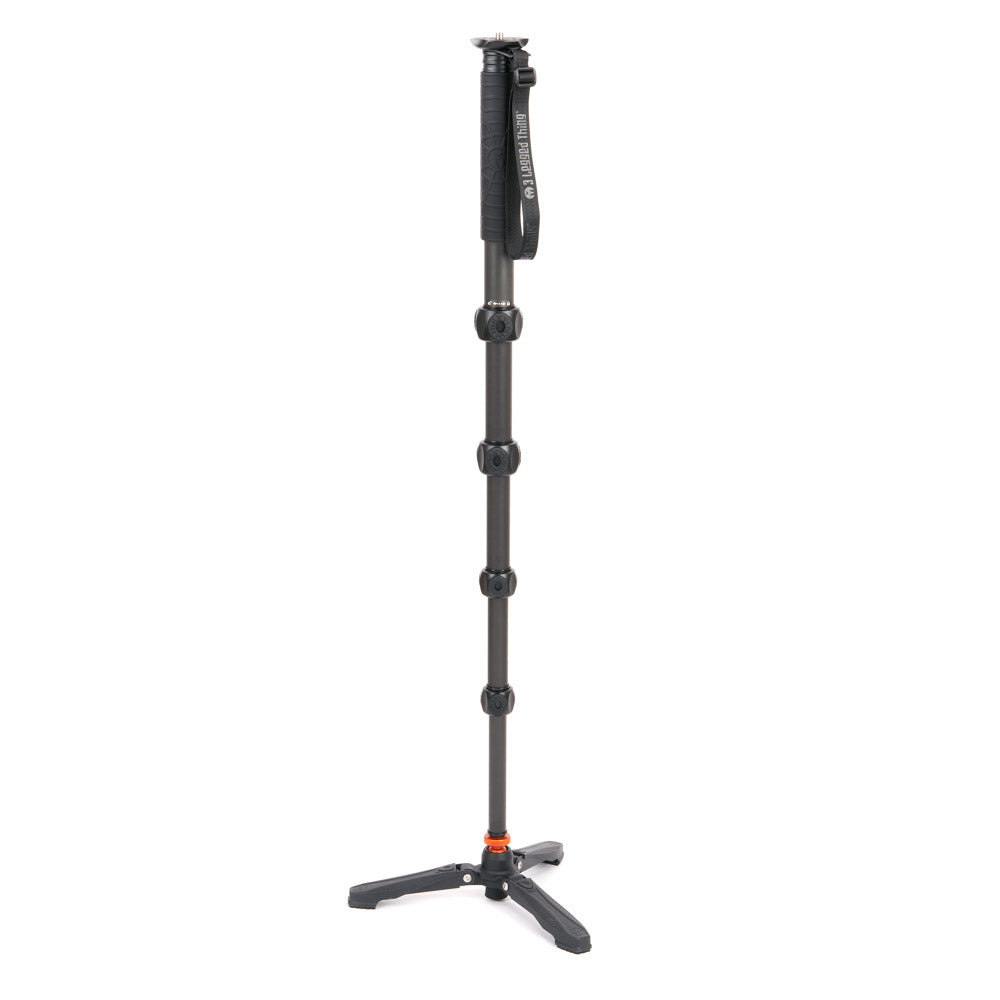
Tripod for low light or long exposures
-
Fast memory card for continuous shooting
The key isn’t expensive gear, it’s understanding how to use what you have.

Camera Settings Explained
Shutter Speed
This is the most common cause of blurry photos.
-
If your shutter speed is too slow, any movement (yours or your subject’s) will cause blur
-
As a rule of thumb:
-
1/60 – minimum for still subjects
-
1/250+ – people or light movement
-
1/1000+ – sports and fast action
-
If your image is blurry, increase your shutter speed first.

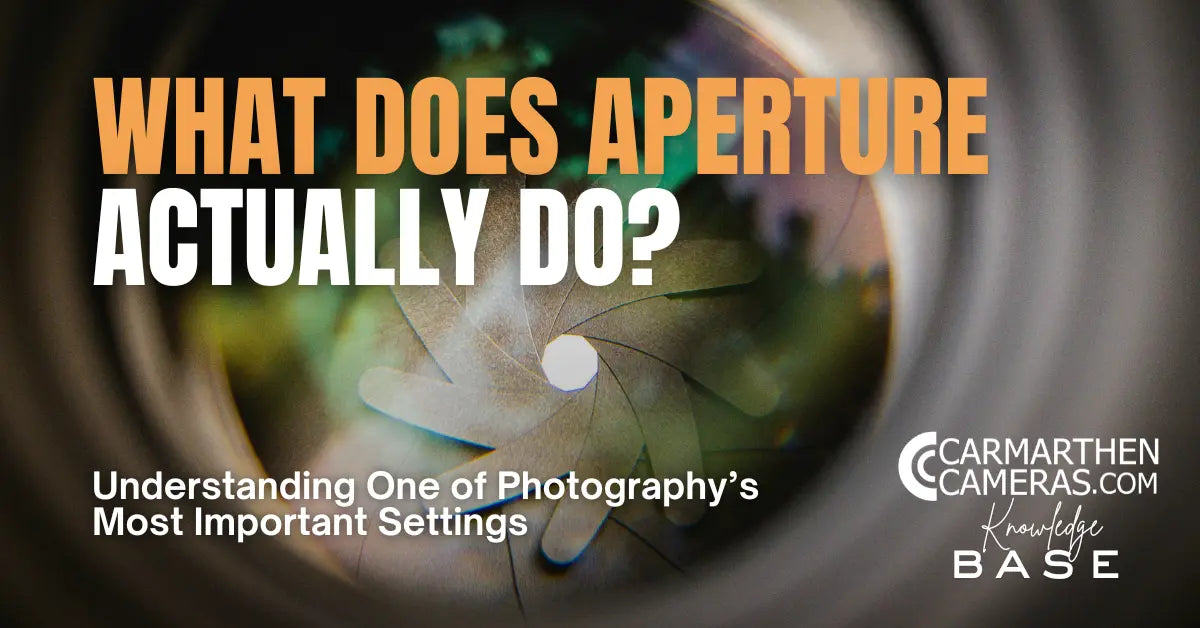
Aperture
Aperture controls depth of field.
-
Wide apertures (e.g. f/1.8) can create beautiful background blur but make focusing harder
-
Narrow apertures (e.g. f/8) give you more in focus
If your subject is slightly out of focus, your aperture may be too wide.

ISO
ISO controls brightness.
-
Increasing ISO allows faster shutter speeds
-
Modern cameras handle higher ISO much better than before
Don’t be afraid to raise ISO to maintain sharpness. Sharp and slightly noisy is always better than blurry.

Autofocus Modes
Using the wrong autofocus mode is a common issue.
-
Single AF (AF-S / One Shot): For still subjects
-
Continuous AF (AF-C / AI Servo): For moving subjects
-
Eye/Face Detection: Ideal for portraits
If your subject is moving, always use continuous autofocus.

Key Techniques
Hold Your Camera Properly
-
Keep elbows tucked in
-
Use both hands
-
Control your breathing when shooting
Use Stabilisation
-
Turn on lens or in-body stabilisation
-
Use a tripod in low light
-
Be aware that stabilisation can sometimes introduce blur when your camera is mounted on a tripod, so it’s often best to switch it off when shooting fully supported
Focus Carefully
-
Use a single focus point for precision
-
Make sure it’s on your subject, not the background

Timing Matters
-
Shoot in bursts for action
-
Anticipate movement instead of reacting
Composition and Distance
-
Being too close with a shallow depth of field can cause missed focus
-
Step back slightly if needed
Common Mistakes to Avoid
-
Shooting with shutter speeds that are too slow
-
Using the wrong autofocus mode
-
Relying on auto settings in difficult lighting
-
Shooting wide open (f/1.8) without precise focus
-
Not checking images after shooting

Pro Tips
-
Increase shutter speed before adjusting anything else
-
Use back-button focus for more control
-
Shoot multiple frames instead of relying on one shot
-
Zoom in and check sharpness on your screen regularly
-
Clean your lens, it matters more than you think
Recommended Gear
If you're still struggling with sharpness, the right gear can make a real difference:
-
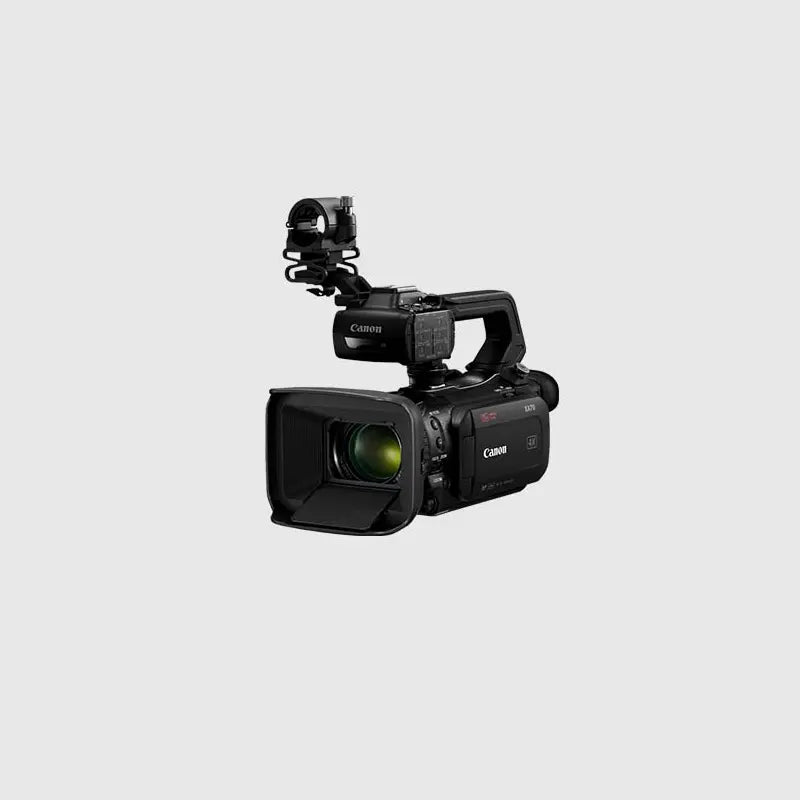
Cameras with advanced autofocus for tracking subjects
-
Lenses with wider apertures for low light
-
Stabilised lenses or cameras with IBIS
-
Tripods for low light and landscape photography
These upgrades don’t replace technique, but they do make sharp results easier to achieve.

Conclusion
Blurry photos are frustrating, but they’re also one of the easiest problems to fix once you understand the cause. In most cases, it comes down to shutter speed, focus settings, or stability.
By adjusting your settings, improving your technique, and understanding how your camera works, you’ll see an immediate improvement in sharpness. The key is to practise, try different settings, review your images, and learn what works.
If you want to take it further, try putting these techniques into practice locally, at events, or even just on a walk. Sharp images come from experience as much as gear.